


Deploying your single-repo, Fullstack Node and React app on Heroku and Netlify
In this tutorial, we're going to learn how to deploy a fullstack app in a single repo to both Heroku and Netlify.


There are times when we build fullstack applications and pushed them to a single repo. In a case like that, we sometimes have all the frontend code in a folder called client and the backend in another folder called server. After we're done building and it's time to deploy, we're faced with the problem of deploying only a single folder in a repo to different hosting platforms.
In this tutorial, we're going to learn how to deploy a fullstack app in a single repo to both Heroku and Netlify. Or demo app contains 2 folders: server and client. The server folder contains our Node app which would be deployed to Heroku; while the client folder contains our React app and would be deployed to Netlify.
Note: For this to work, the client and server folders should be completely standalone and should not be dependent on each other. Each with its own
package.jsonandpackage-lock.jsonoryarn.lockfiles.
To get started, you need to have Netlify, Heroku, and Github or Gitlab accounts. Also, you need to have the Heroku CLI installed on your computer. If you don't have the CLI, follow this link for help on how to do so.
First of, we'll start with deploying the React app to Netlify.
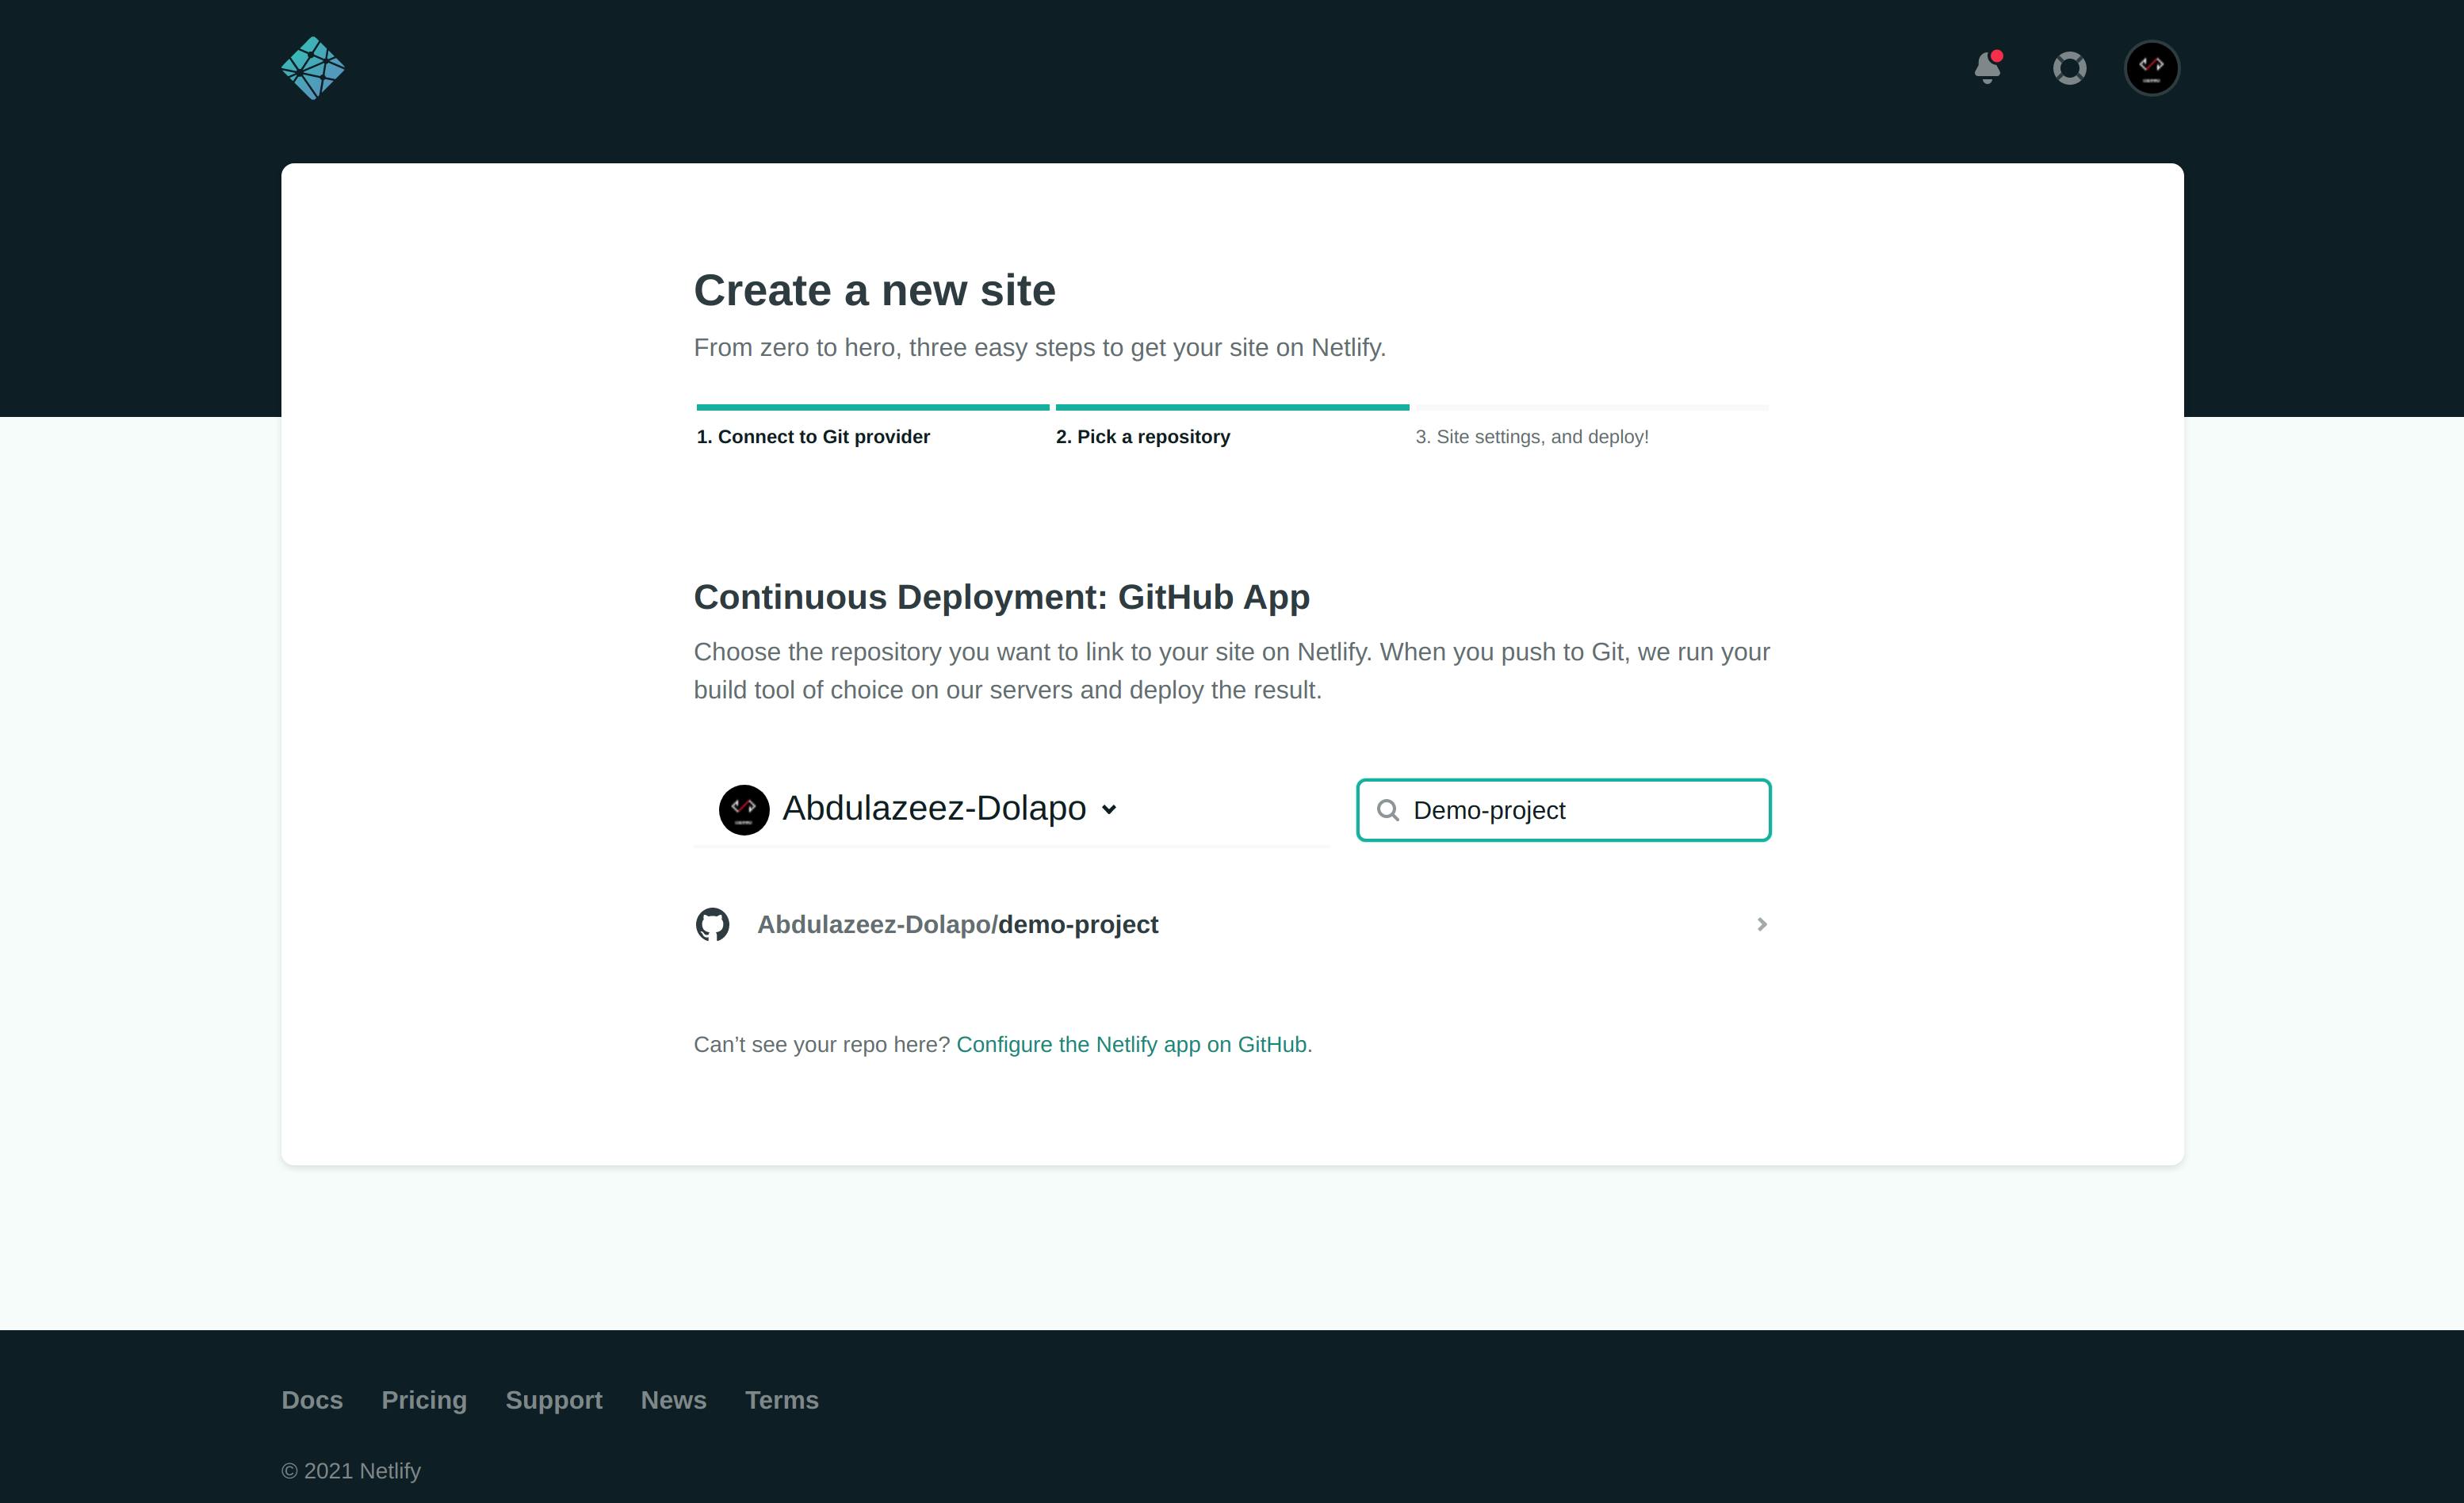
- Open your Netlify dashboard and click on New site from Git. Connect your Github or Gitlab accounts and select the repo you want to deploy.
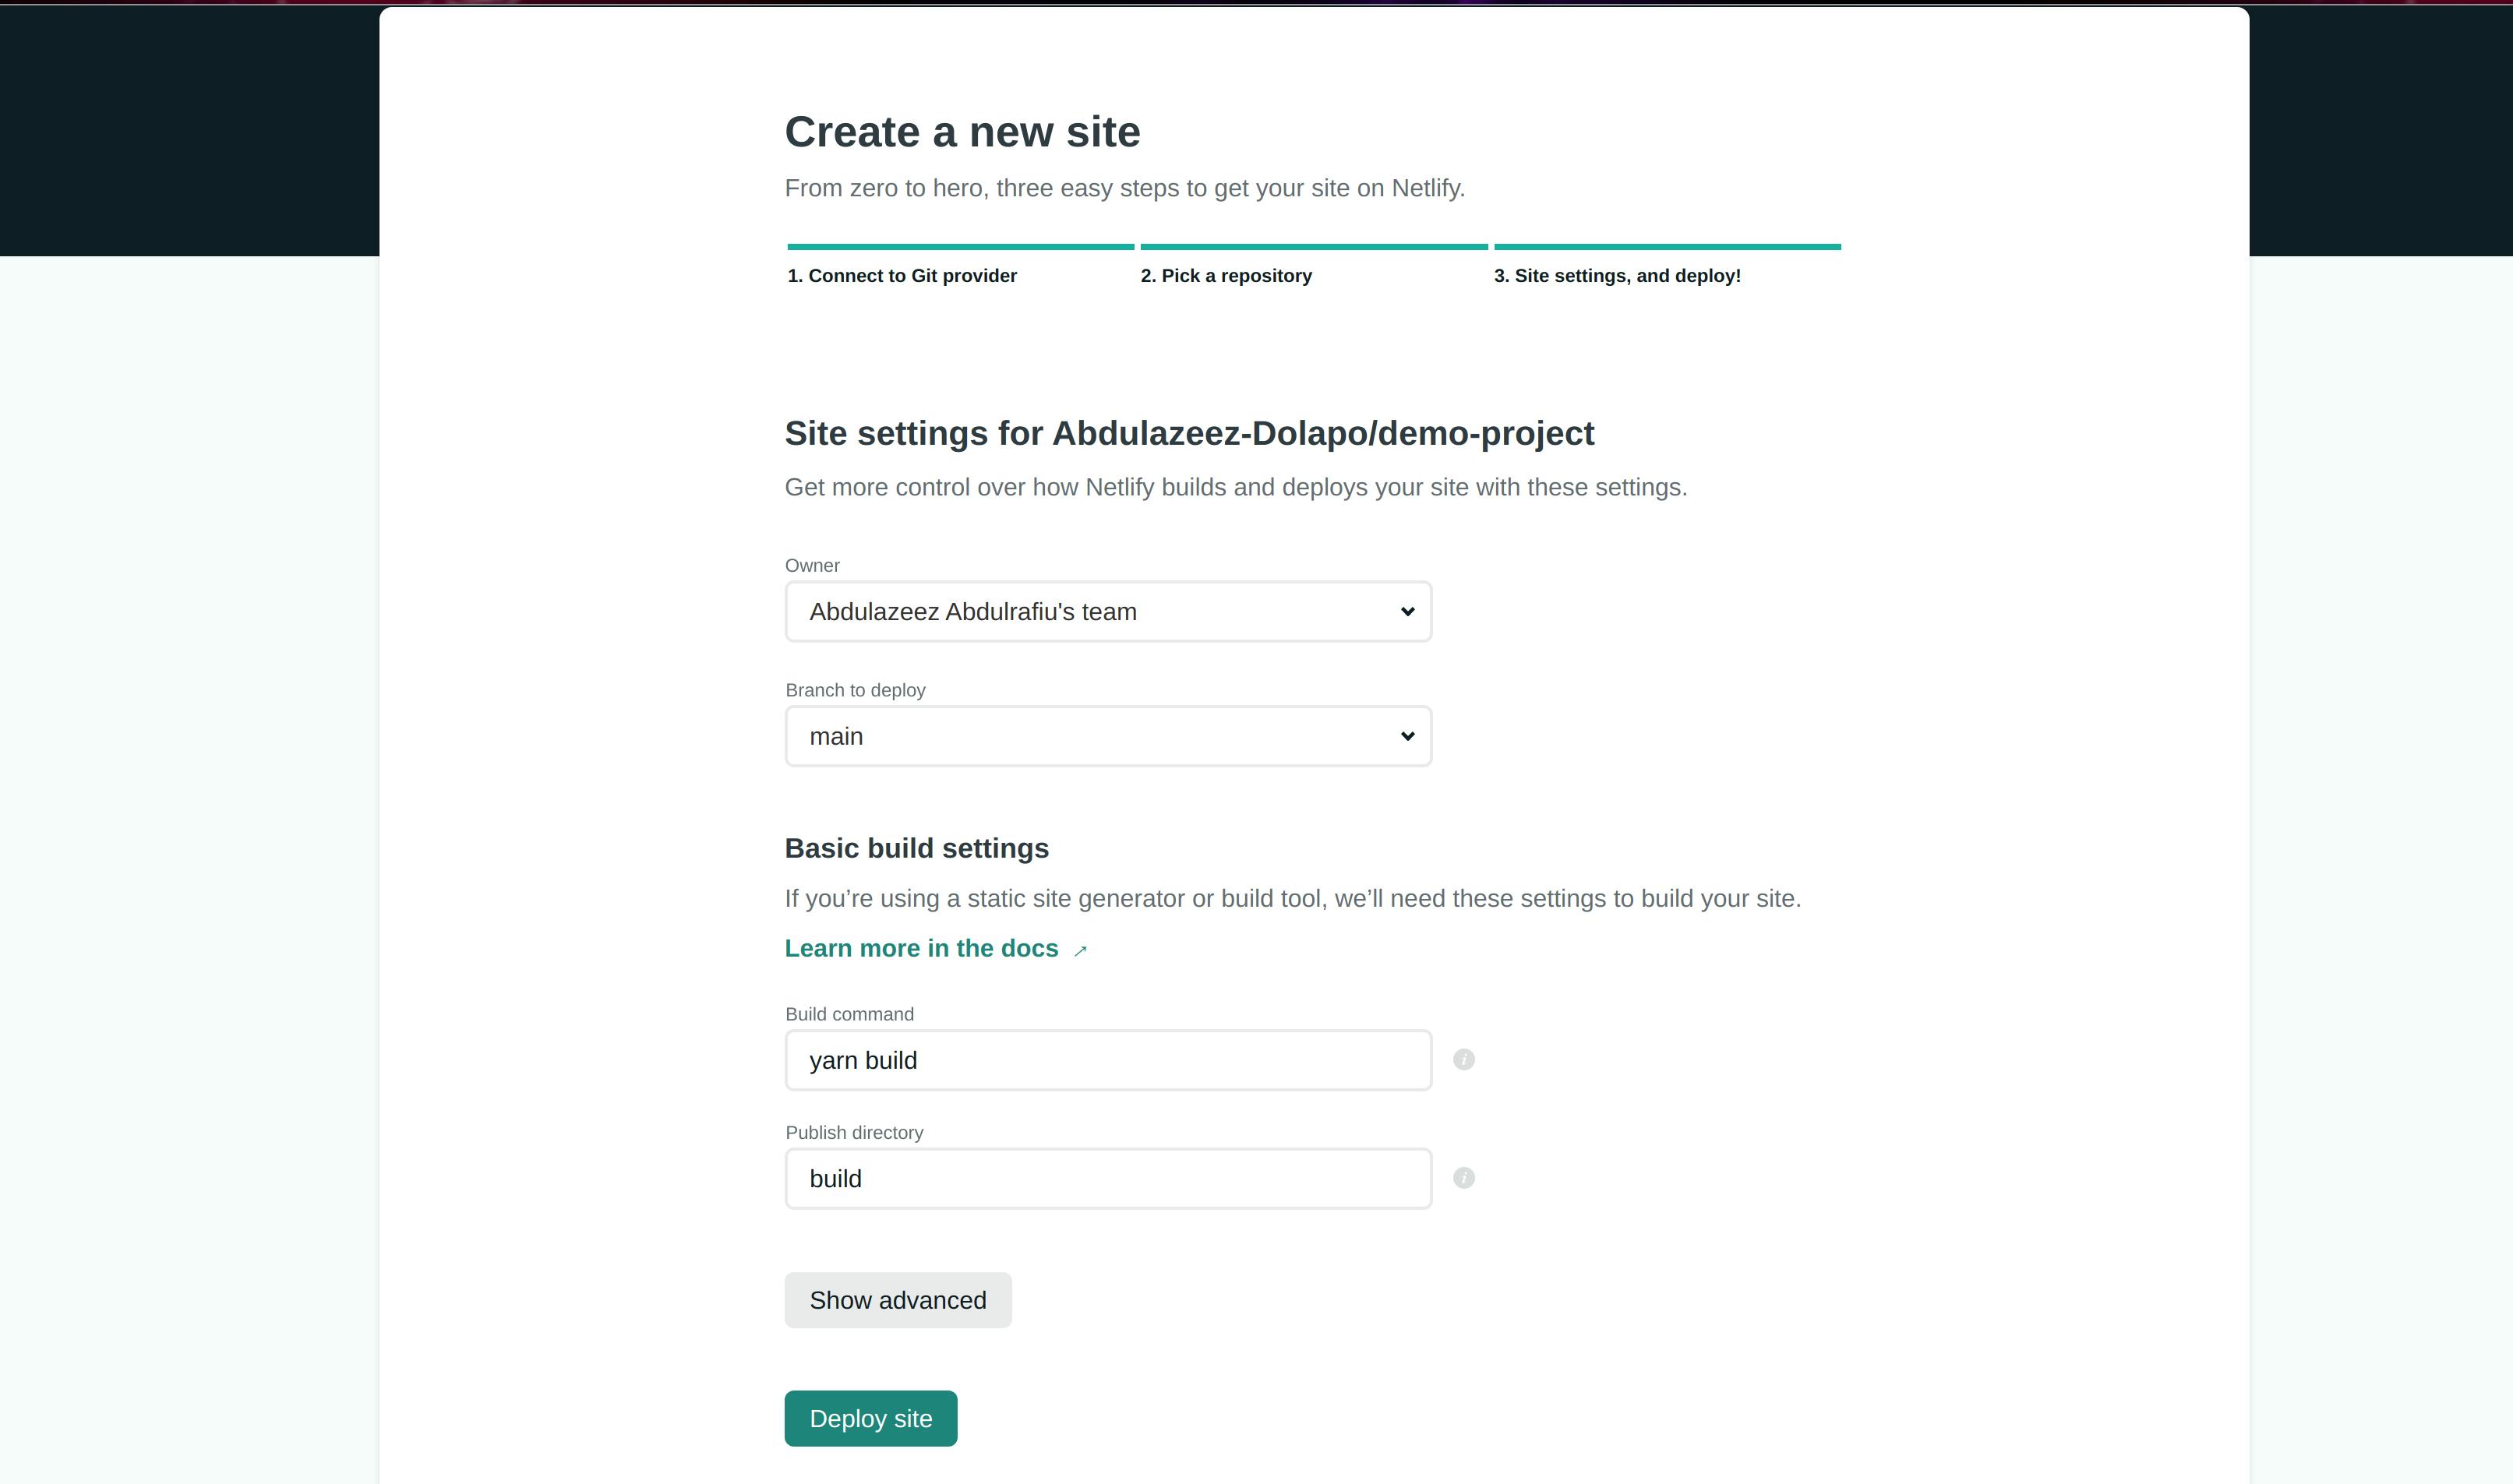
- Type
CI= yarn buildorCI= npm run build(depending on if you used yarn or npm in your project) in your build command and in your Publish directory, type in build.
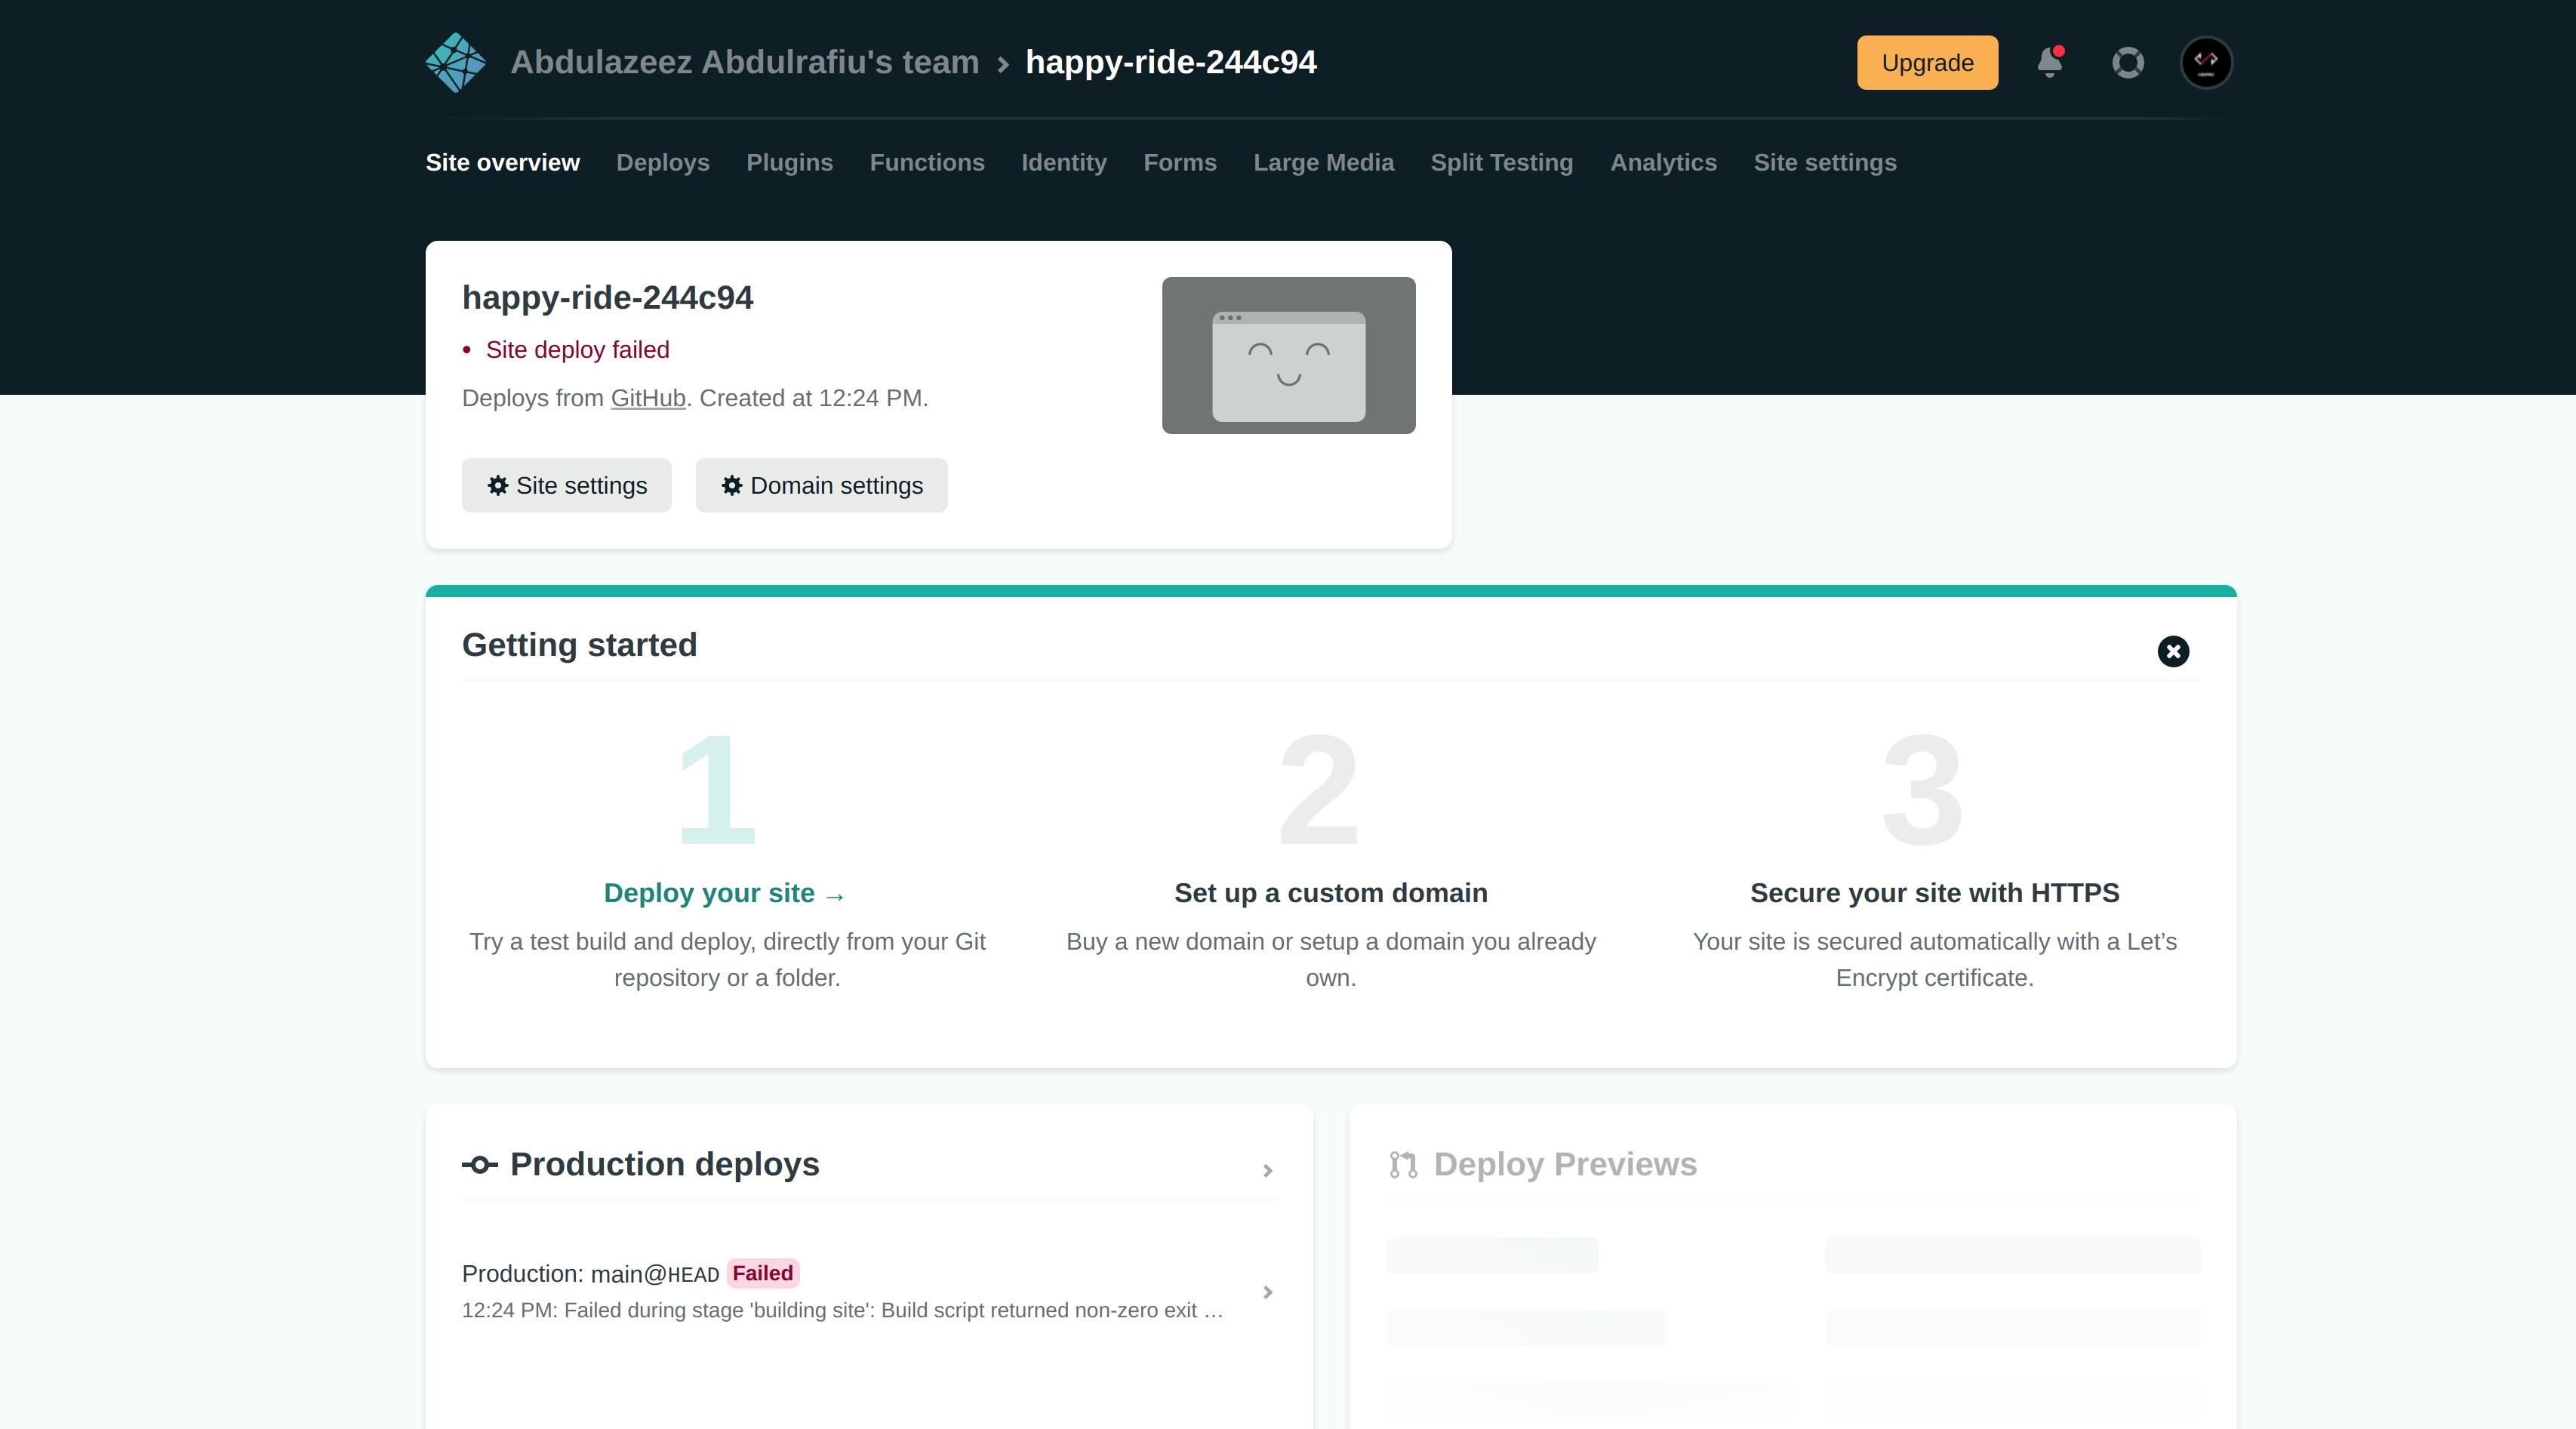
- Click deploy site and the build should start running. Unfortunately, the build will fail and if you open the generated link, you'll get a page not found error. This is because Netlify is trying to build your site from the root of the repo which in this case, does not contain any
package.jsonfile and your other project files.
- The next thing we're going to do is to instruct Netlify to look for the required app files in the client folder. Click Site settings and after that, click Build & deploy on the sidebar on your left.

Click edit settings. In the base directory field, type in the name of the folder containing your Frontend app which in this case is the client folder. Click save.
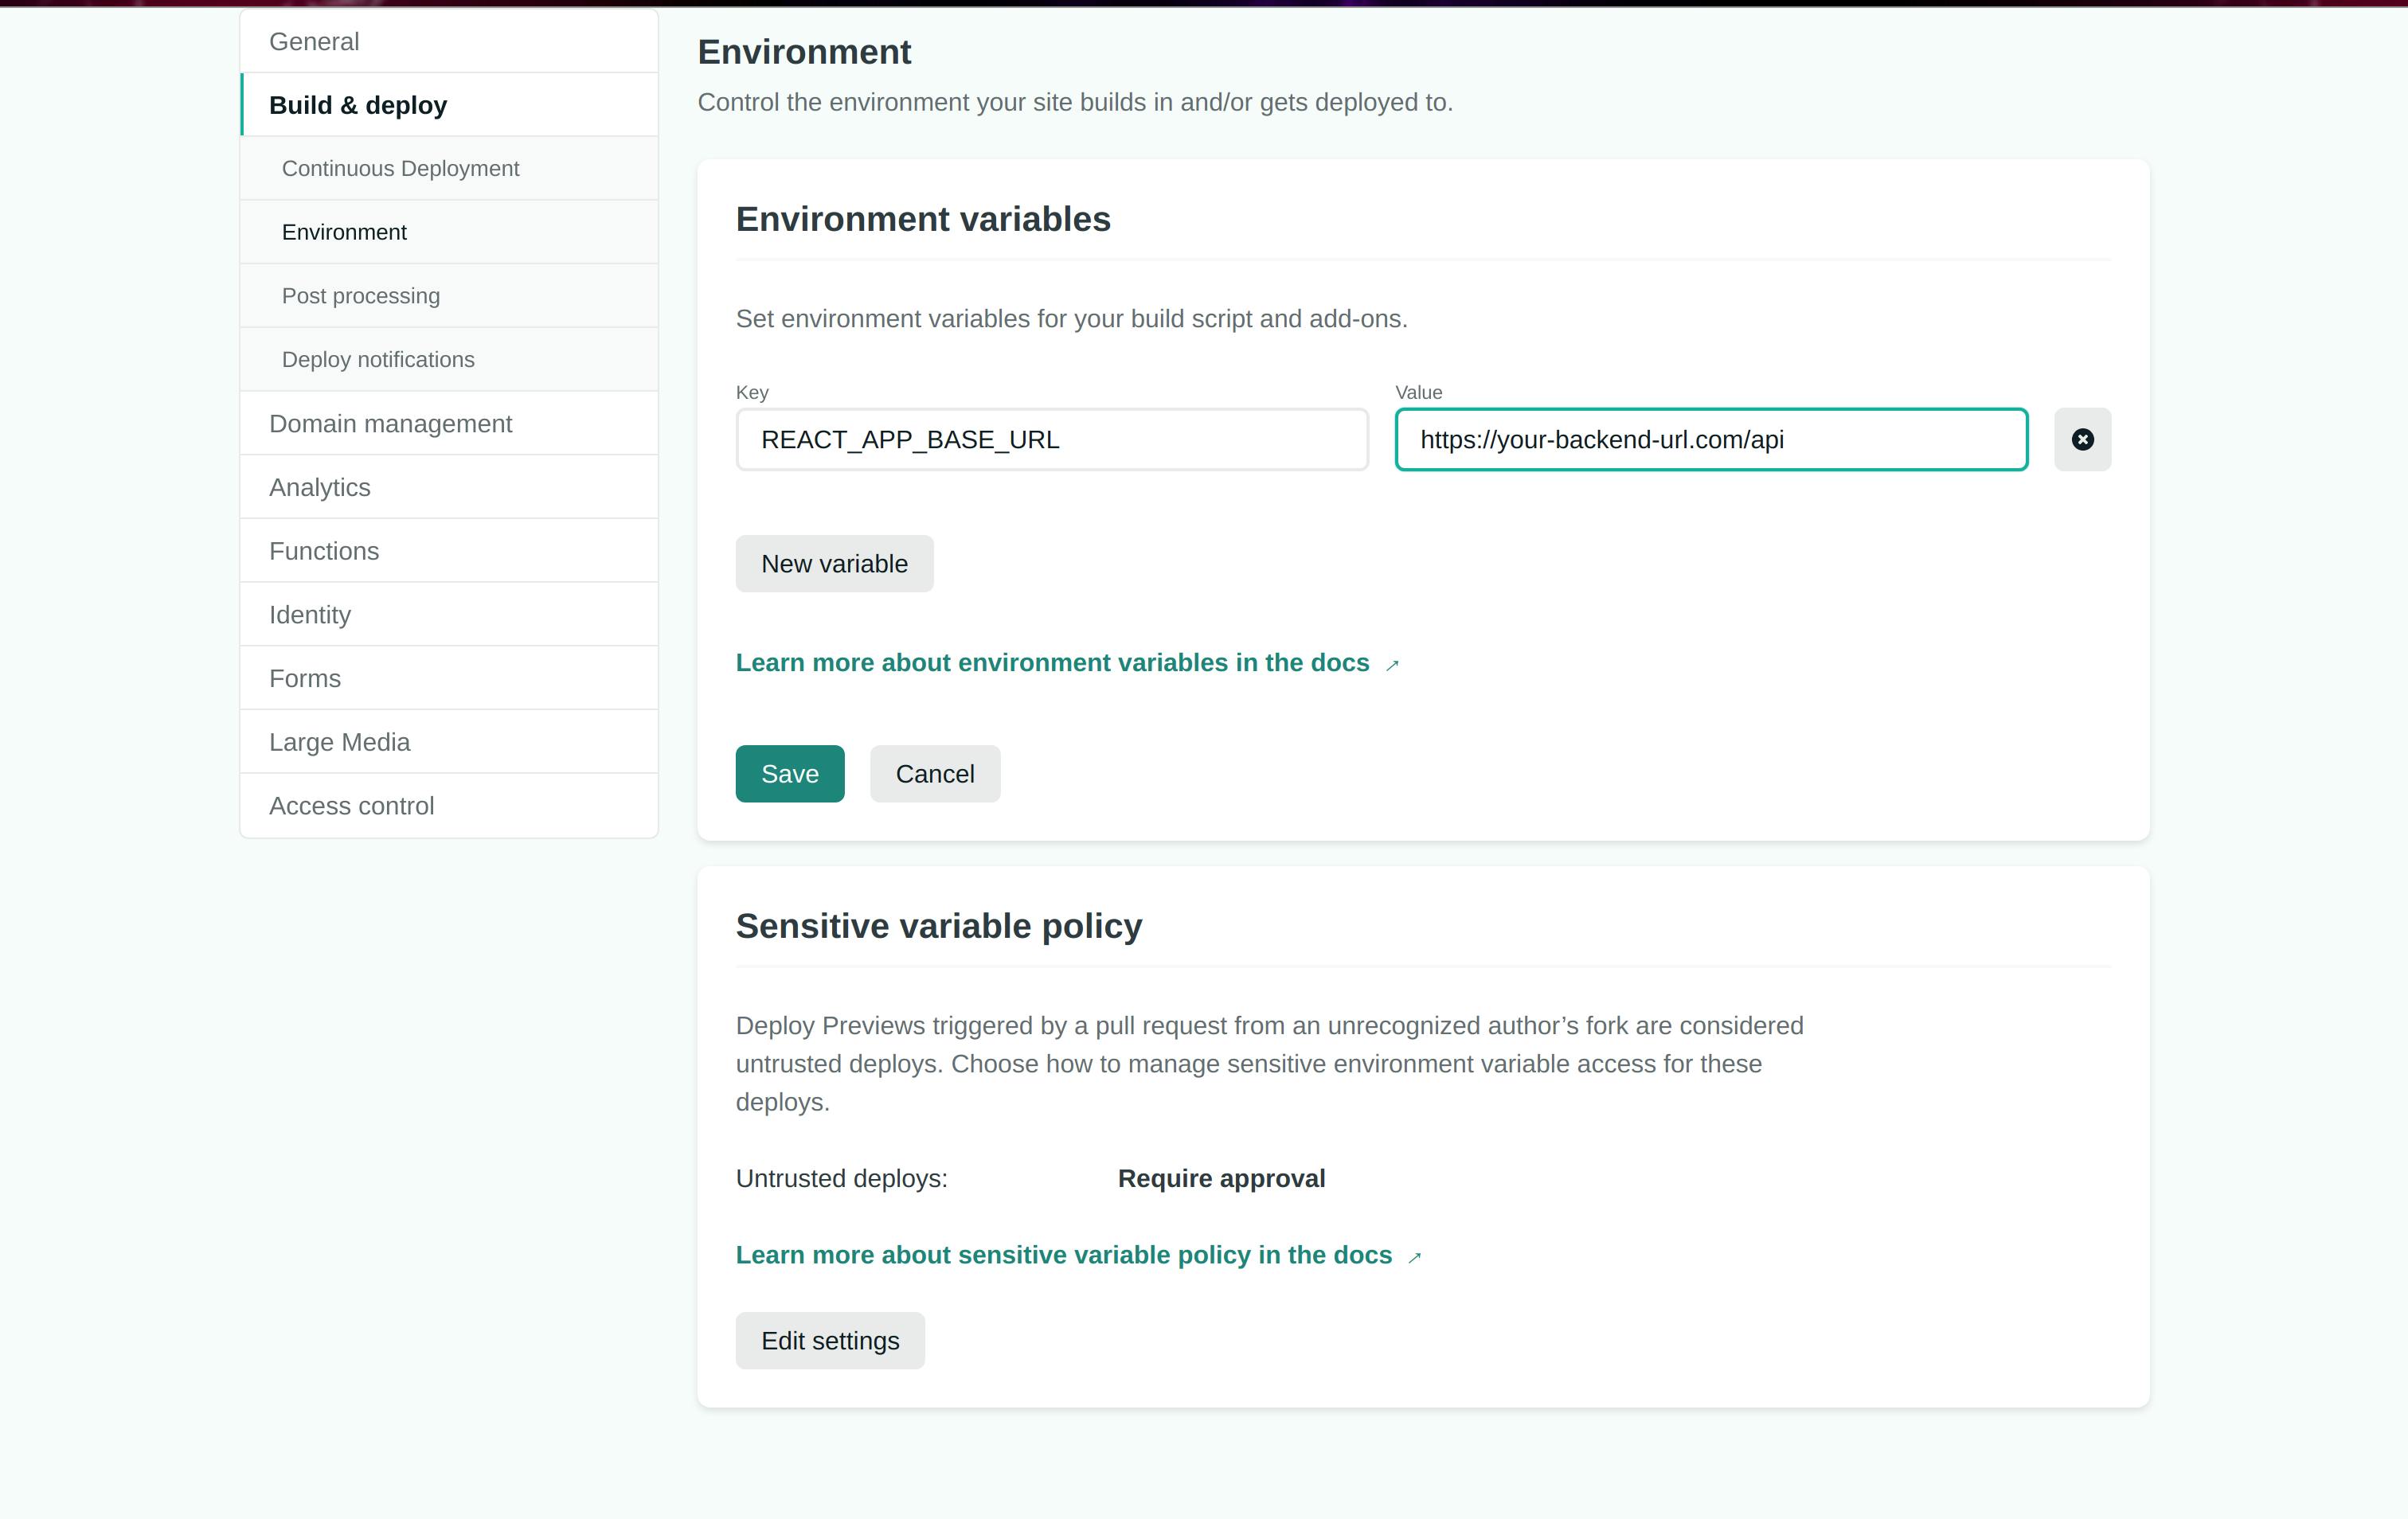
- If you have environment variables that are required in your app, click environment on the left sidebar and then the Edit variables button. Type in your environment variables in the key-value format.
- On the top navigation bar, click Deploys to open the deploys page. Click the Trigger deploys dropdown and select Deploy site. This will trigger a new deploy and you can see the deploy logs in real-time.
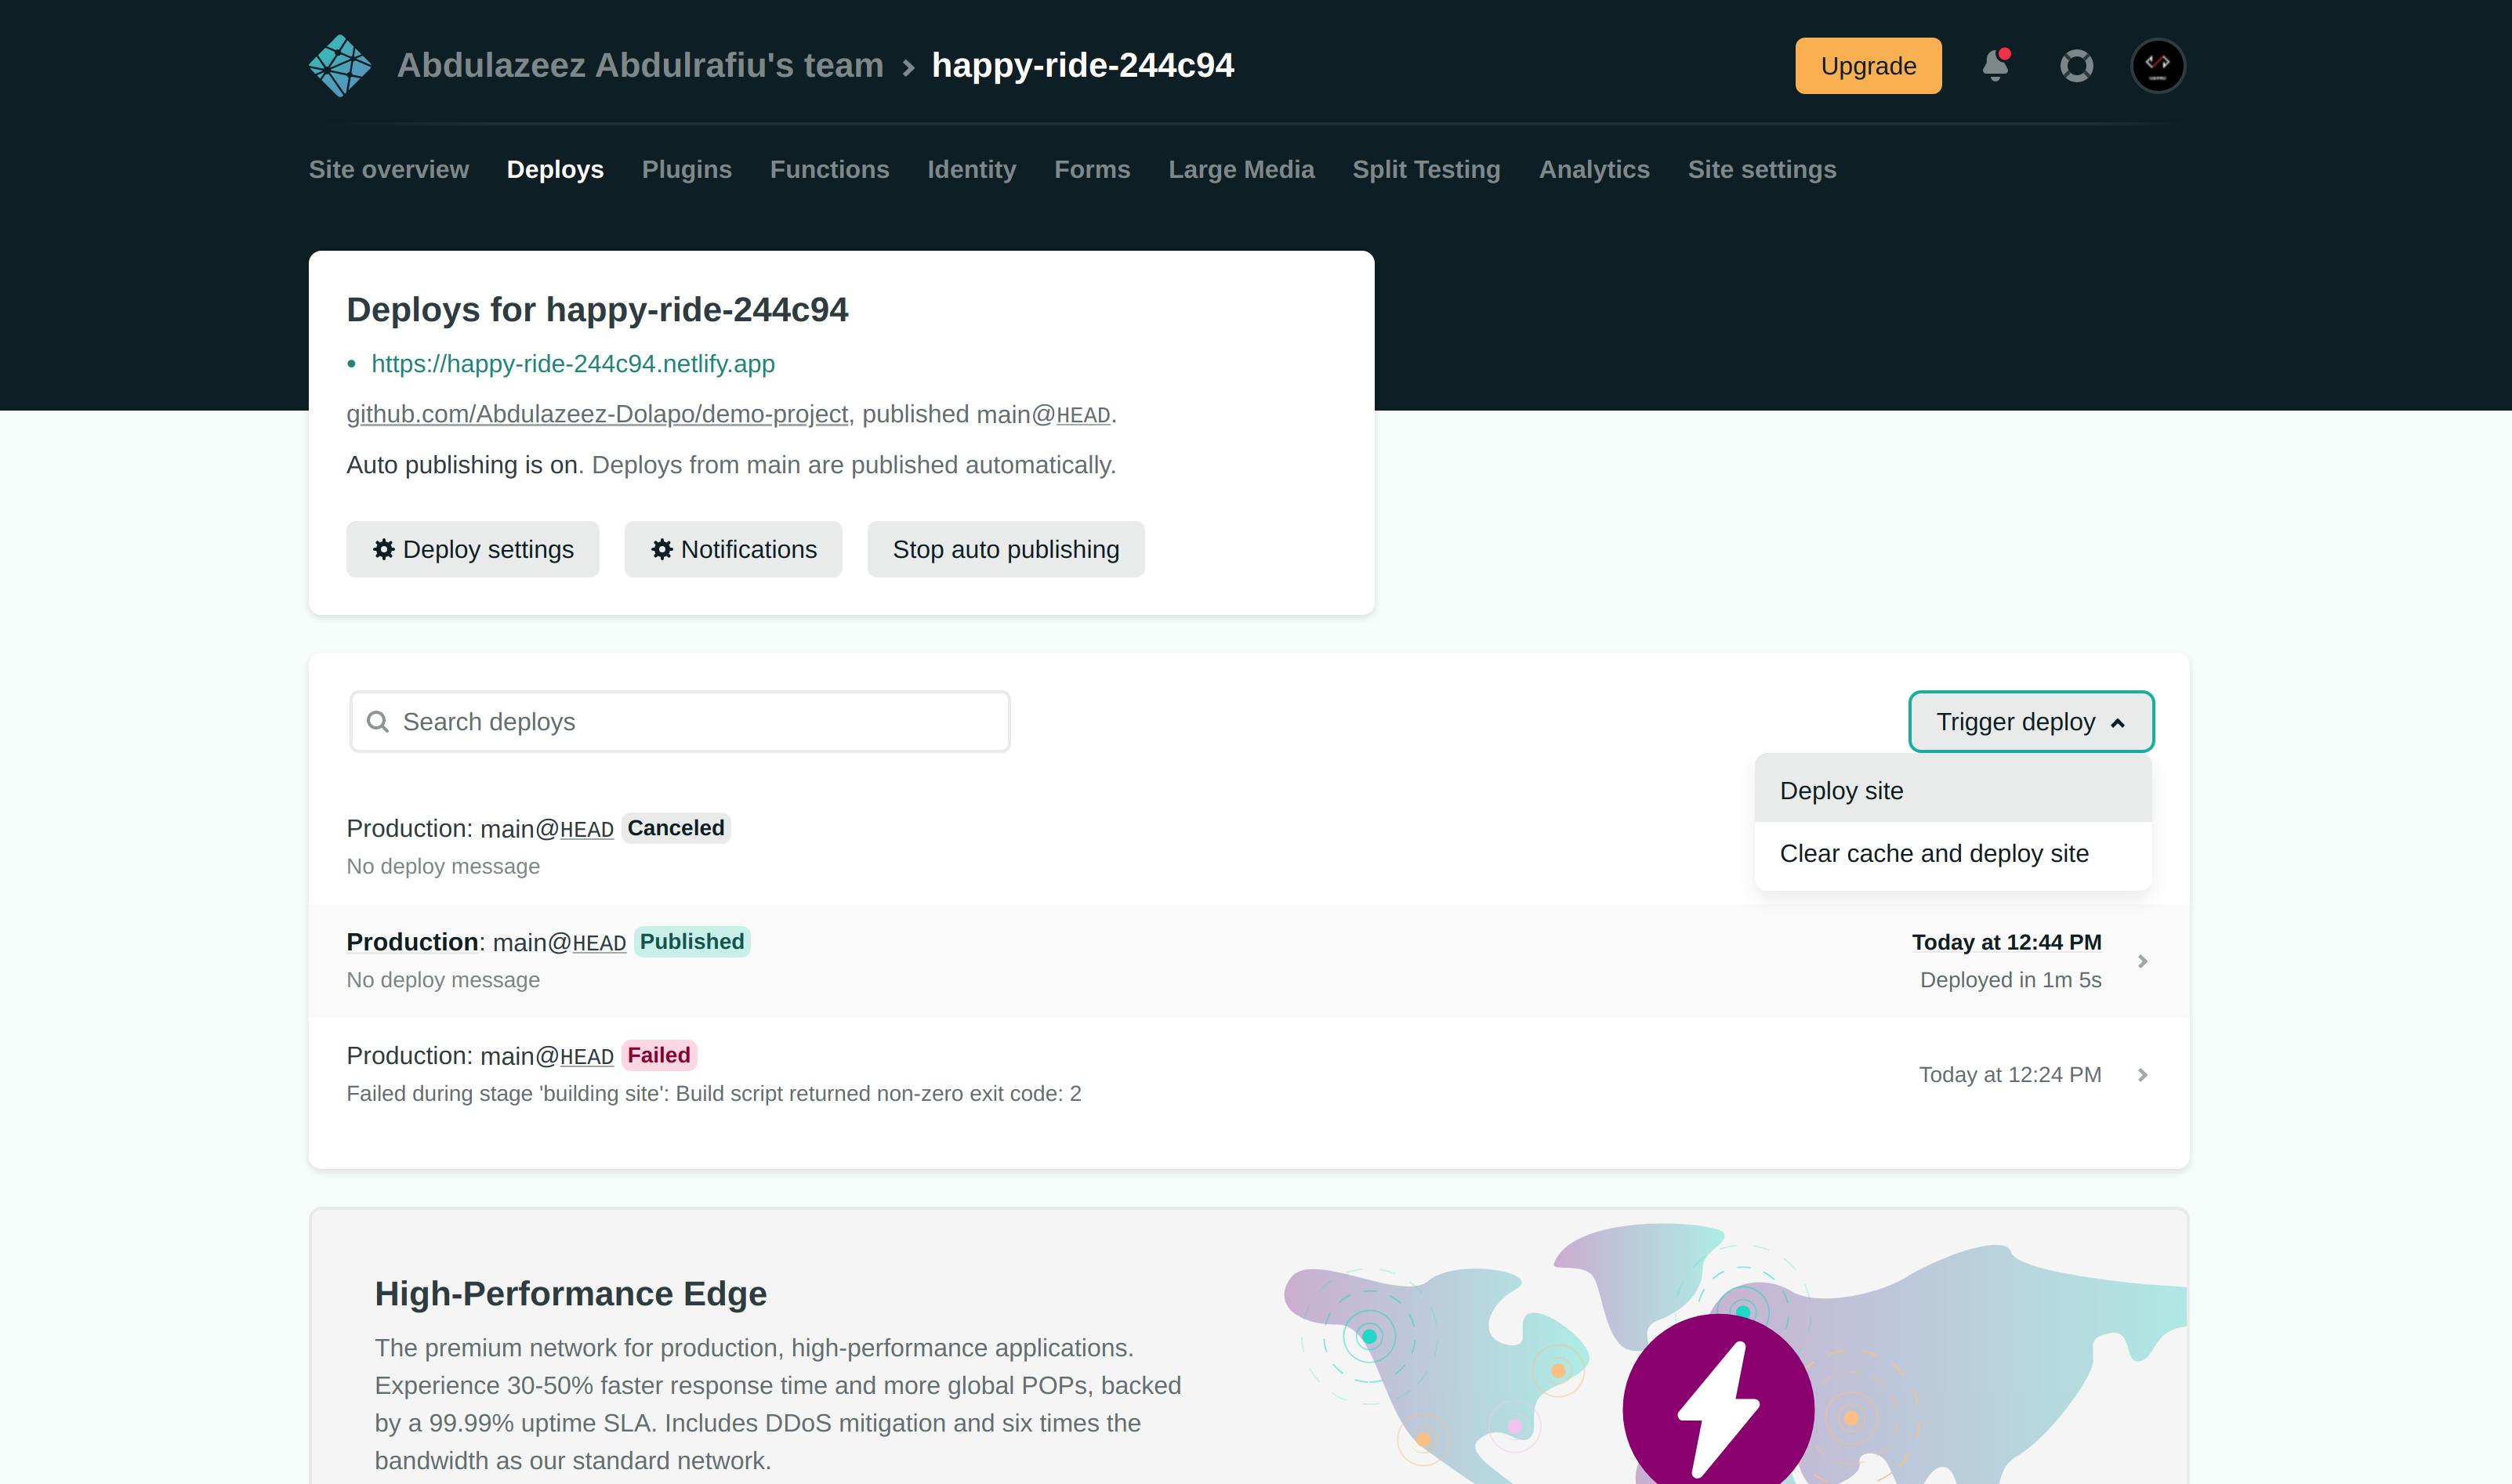
- Your frontend app is now deployed and clicking on the generated link would show your live app.
Deploying the Node app to Heroku is just as easy as that of the frontend with Netlify.
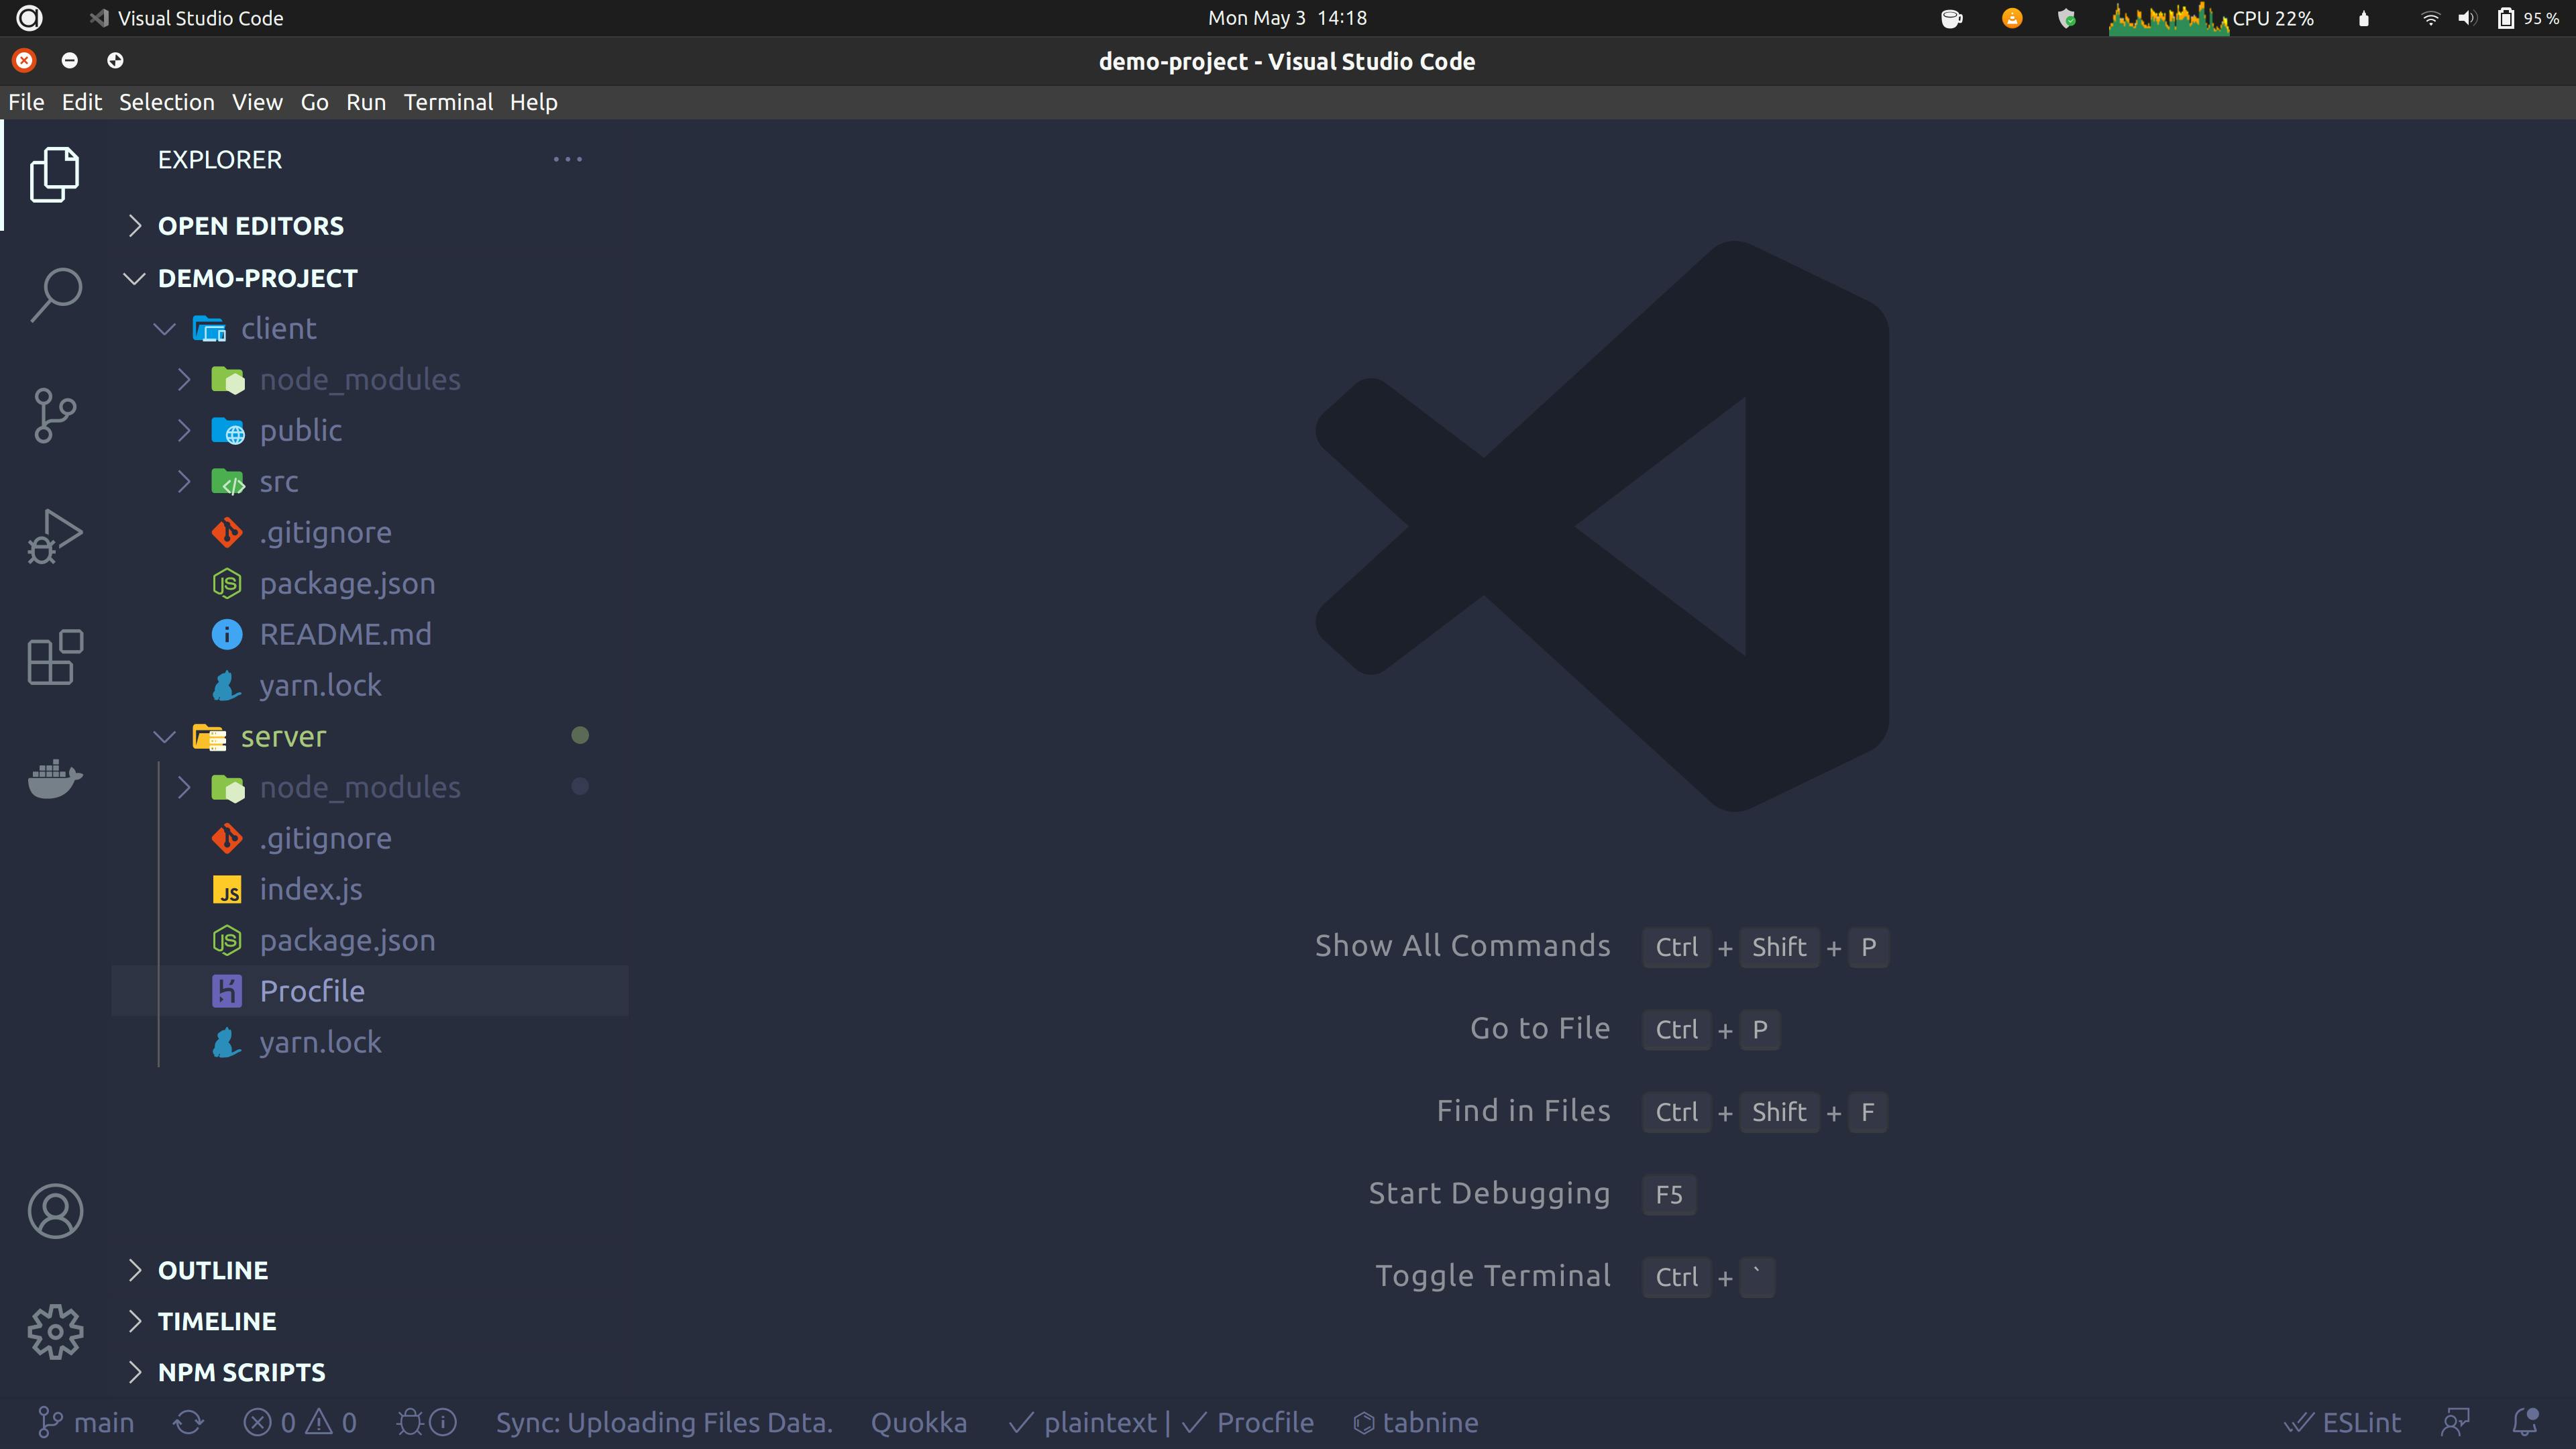
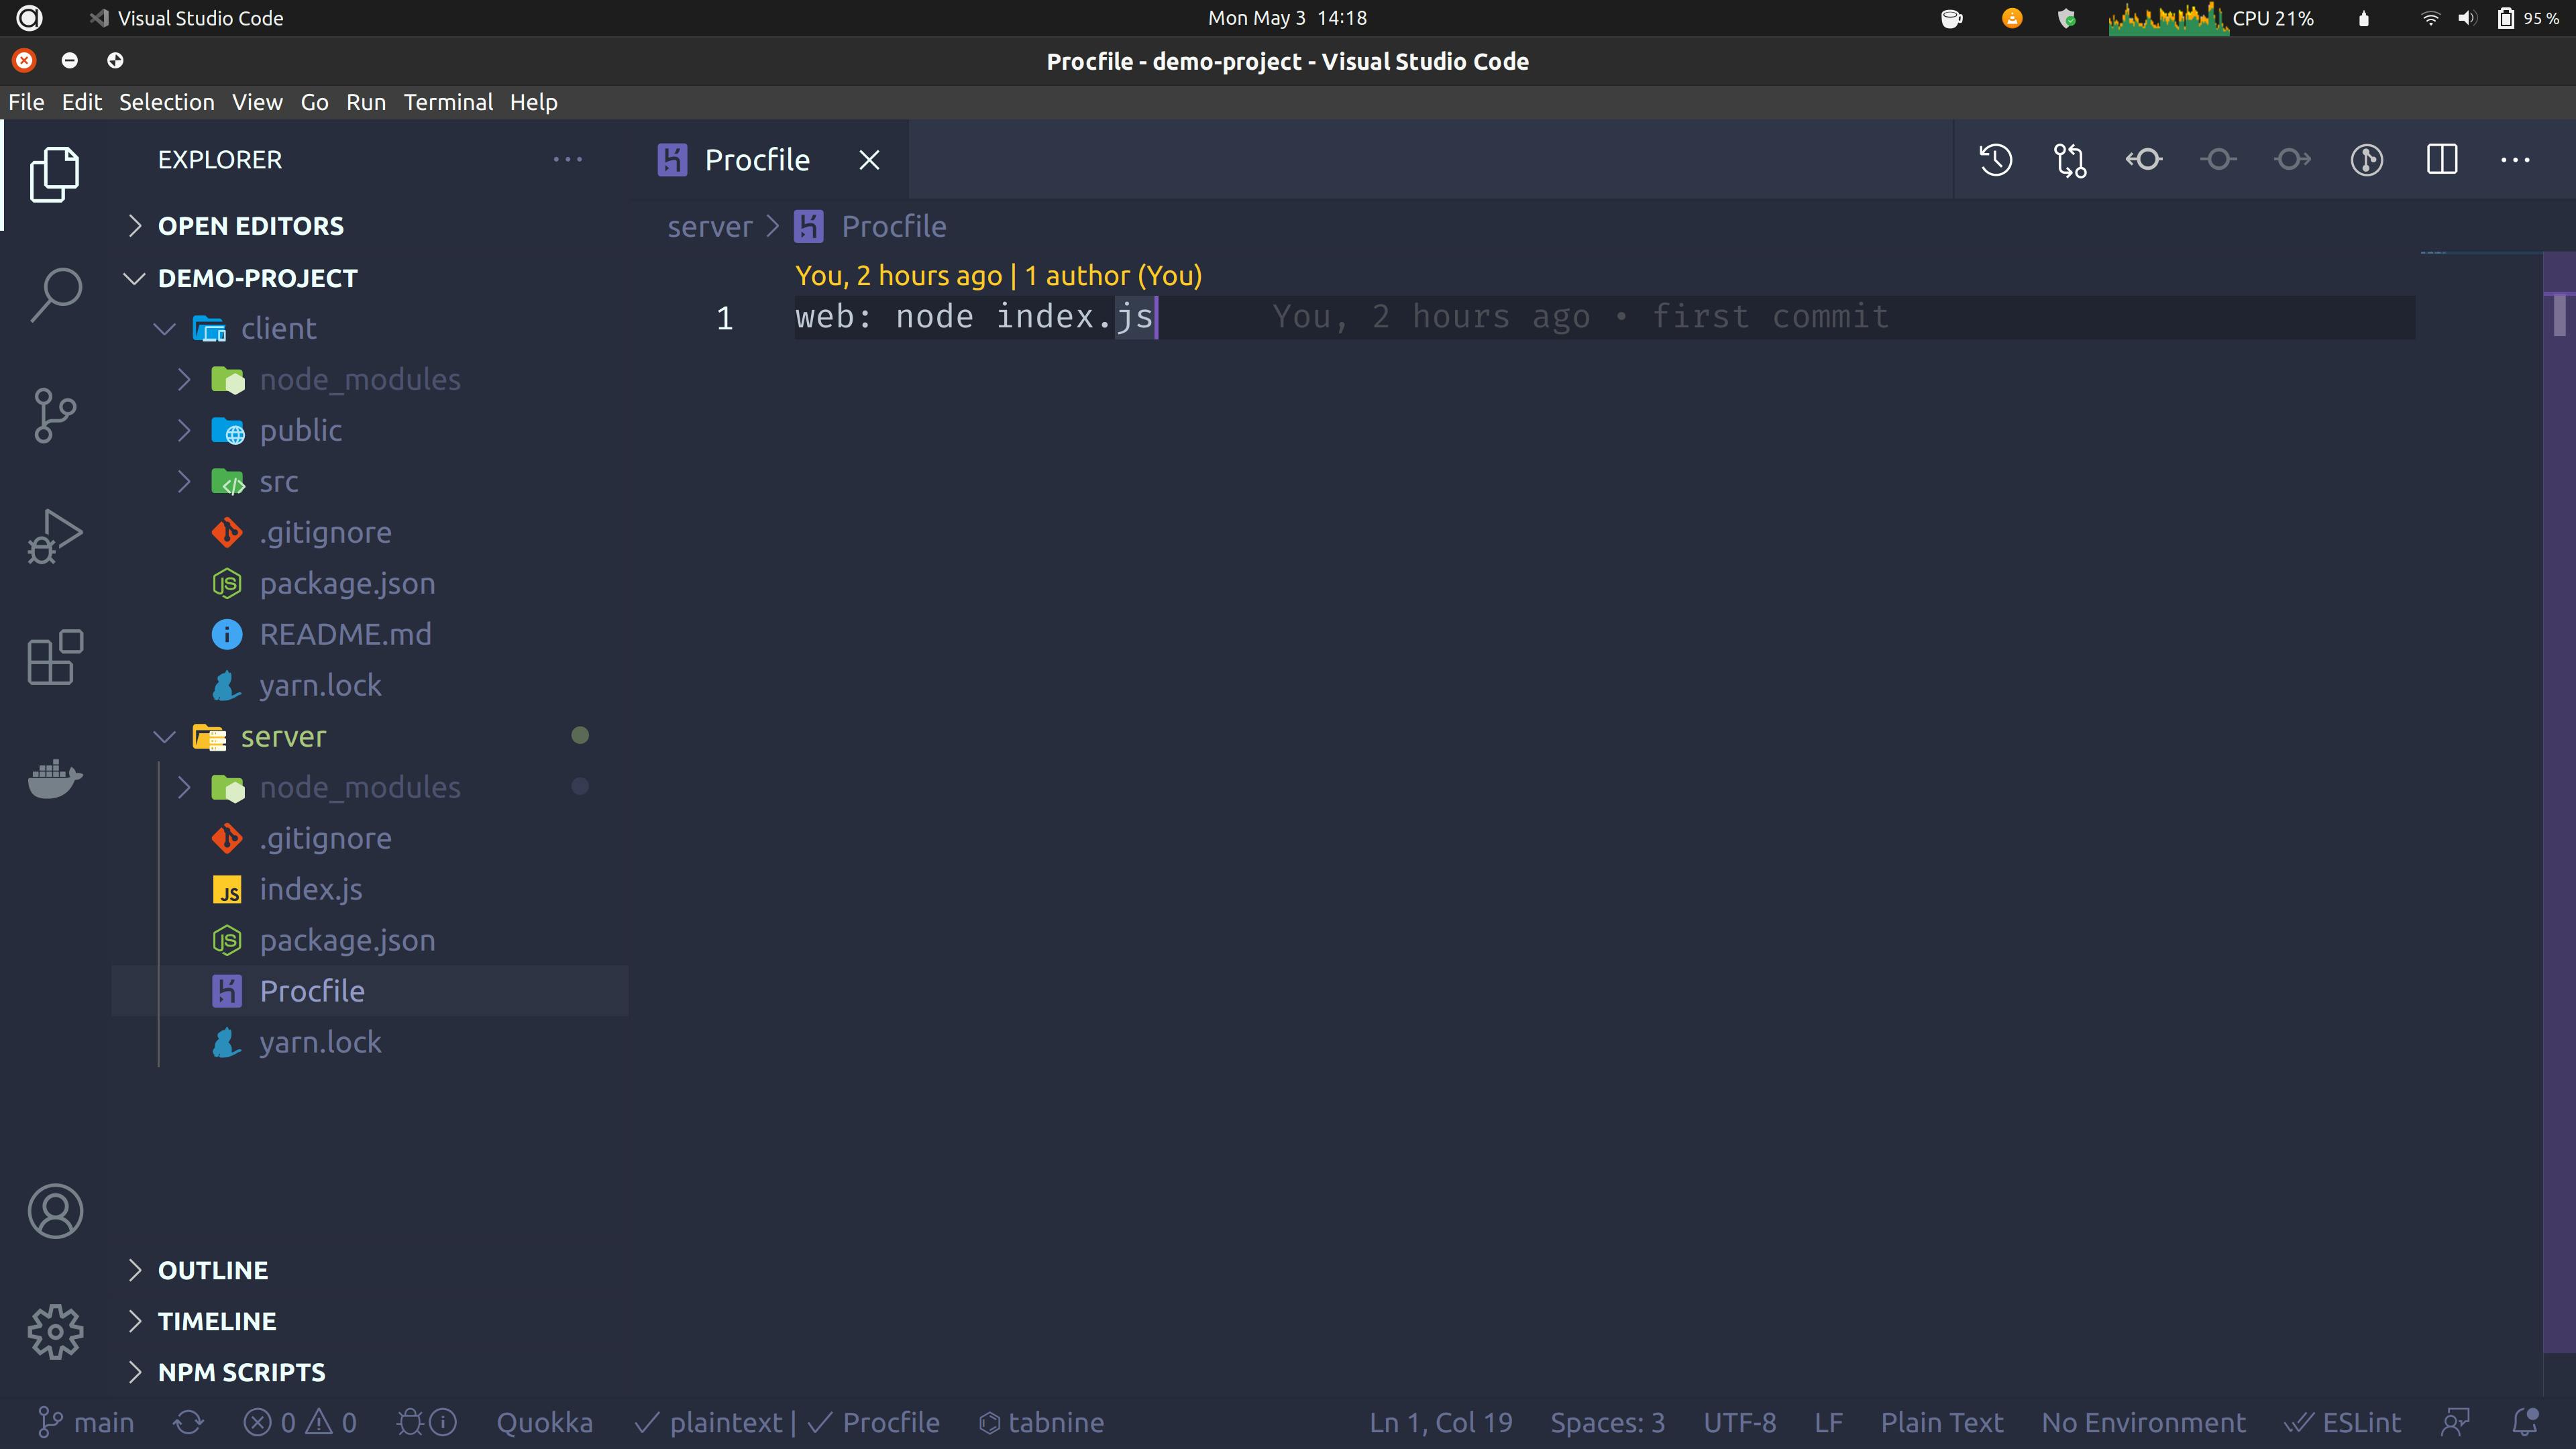
- First, you'll need to create a new file in the server folder called Procfile. Just Procfile with no file extensions. This file will give Heroku instructions on how to start your server. Inside the file, write the command you use to run your Node app. In this case, it's
node index.jsso in the Profile, you'll haveweb: node index.js
- Open a terminal and cd into the root directory of the project. Log in to your Heroku account in the CLI by running
heroku login. A new browser tab or window would open and you can log in to your account. - Go back to the terminal and create a new Heroku app by running
heroku create app-name. Remember to change "app-name" to the name of the app you want to use. - Then push the folder containing your backend code (in this case, server folder) to Heroku by running
git subtree push --prefix folder-name heroku master. Remember to change "folder-name" in that command to the right folder name. In this case, the right folder name is server so the command becomesgit subtree push --prefix folder-name heroku master. Basically what the command does is to push only the server folder to heroku for deployment.
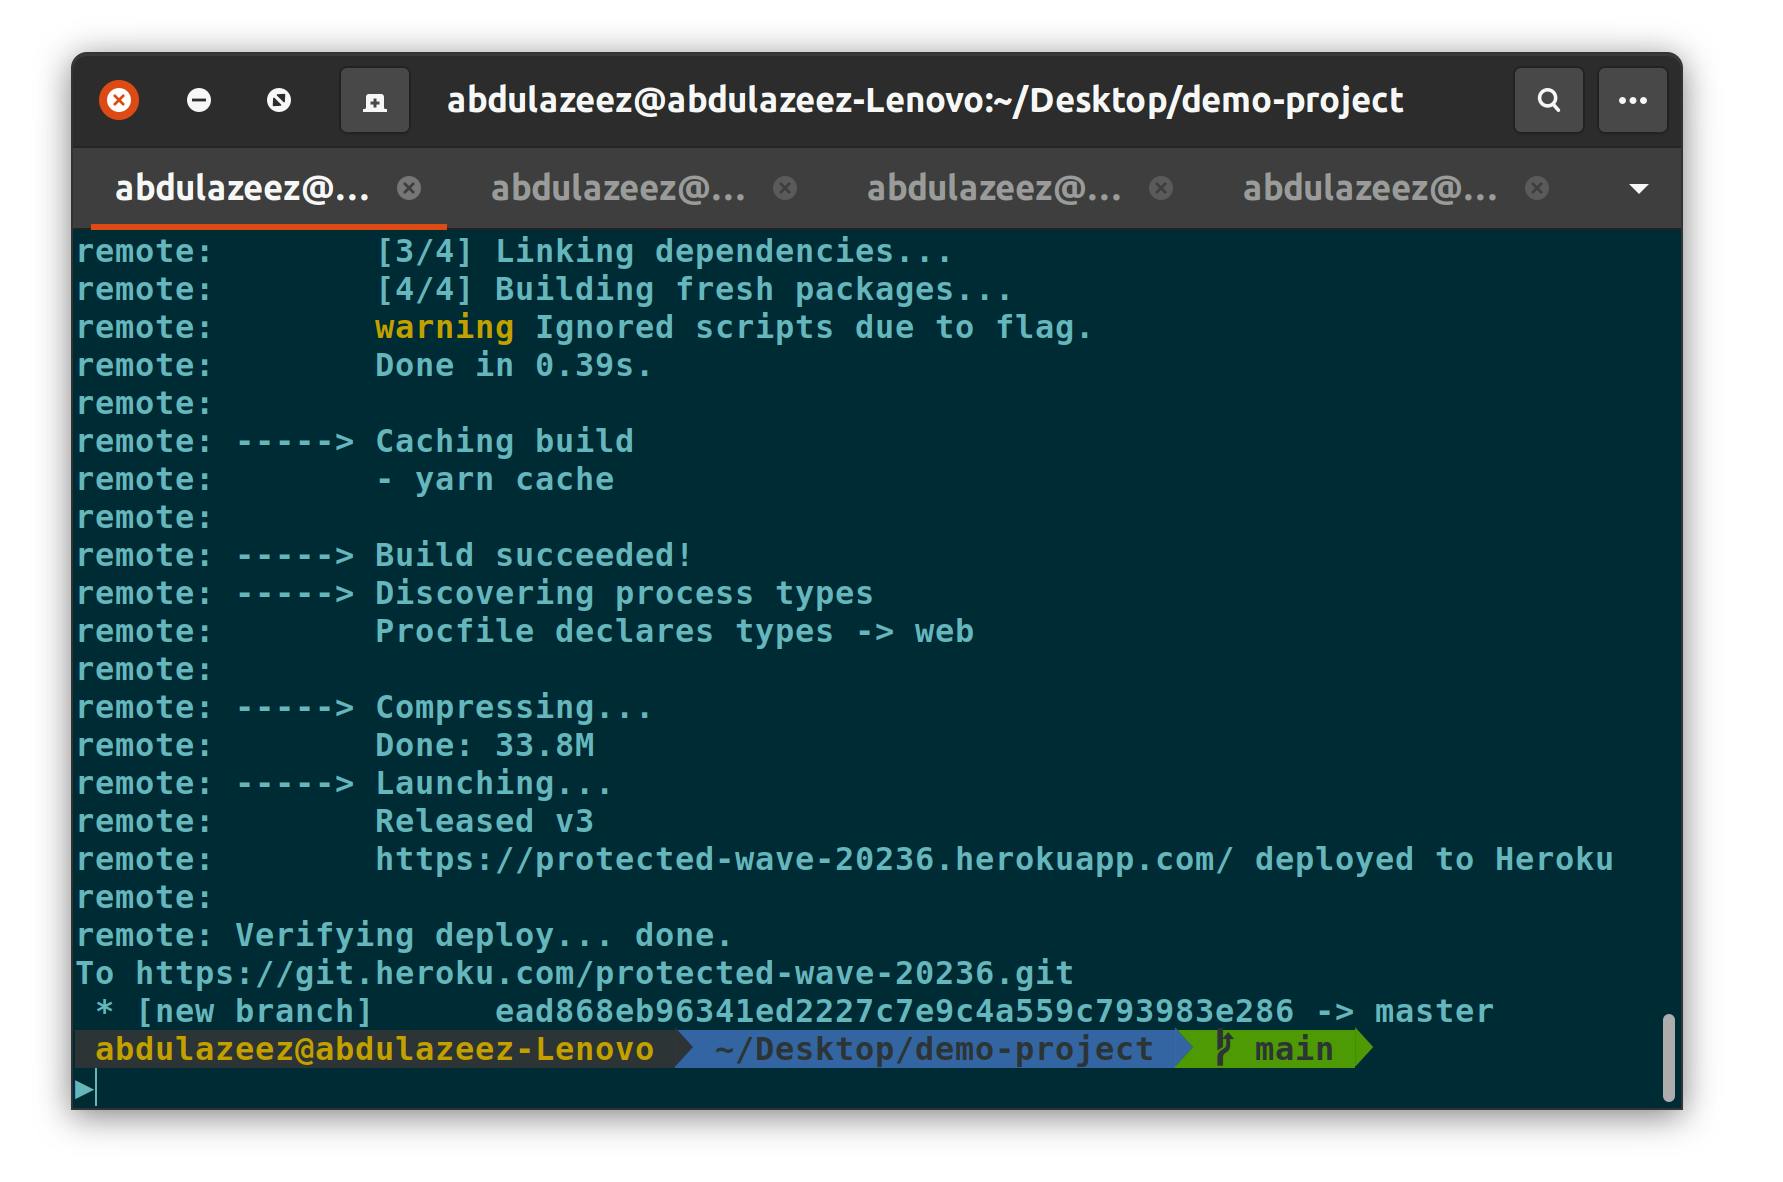
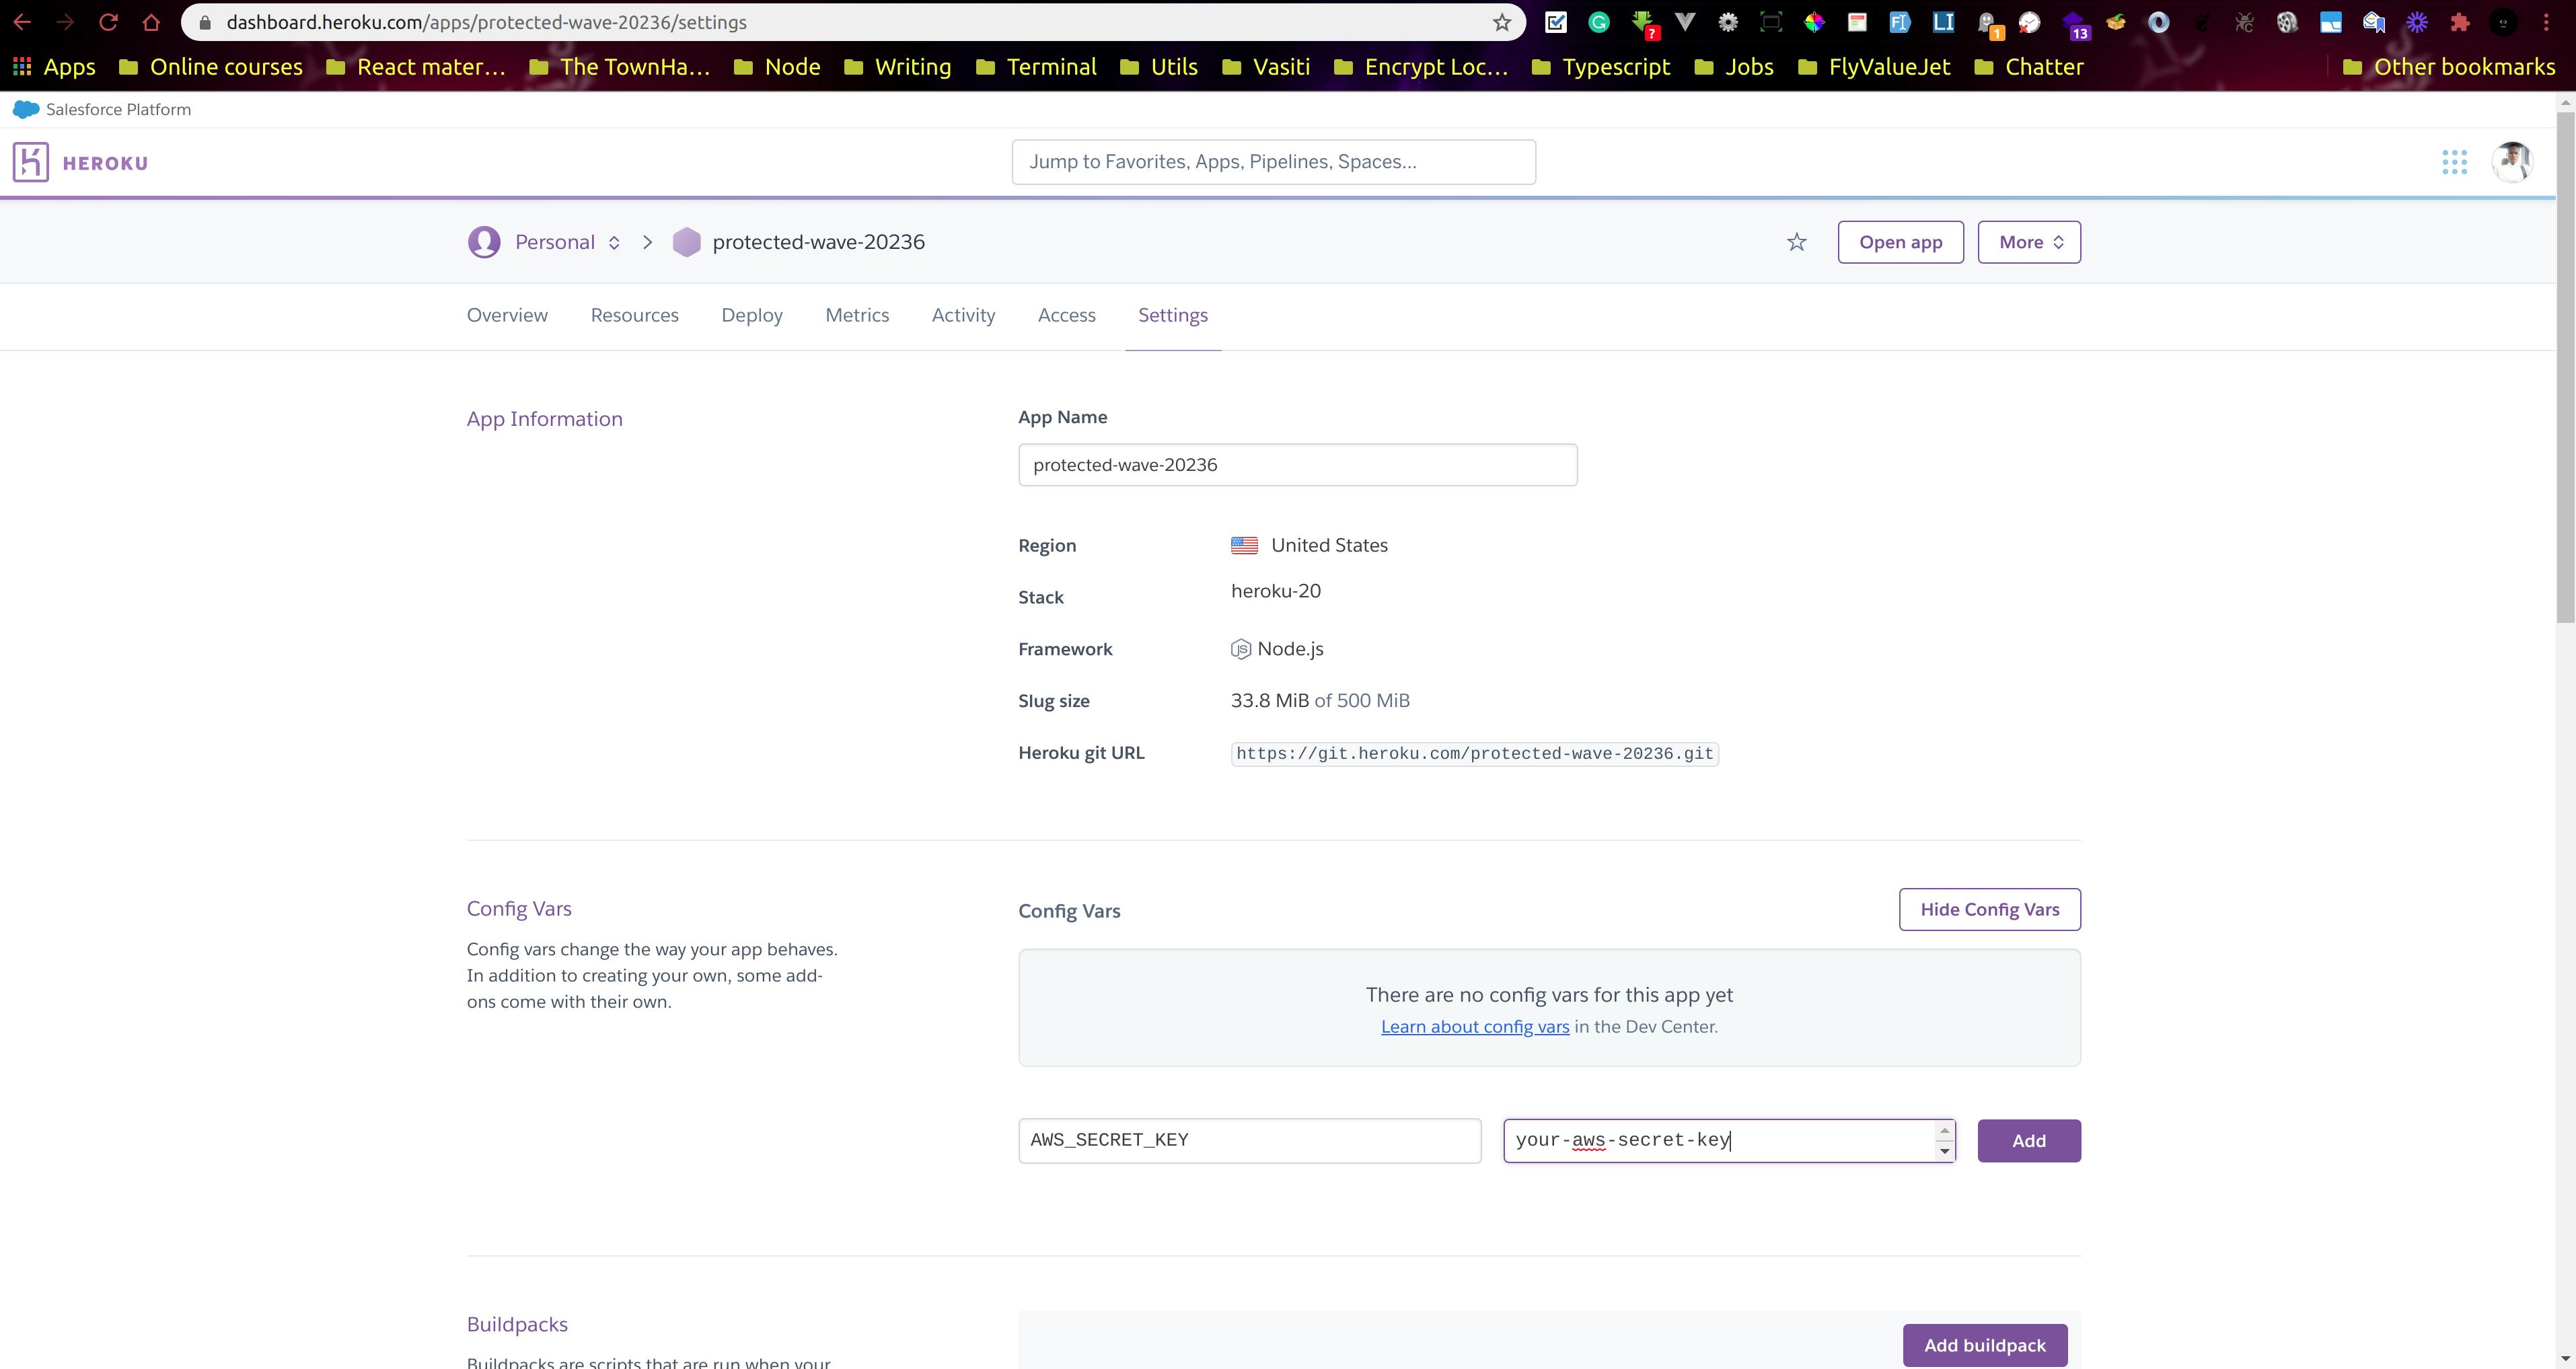
The URL of your deployed app will be shown on the terminal. If you have environment variables required to make your Node application run, you'll need to add them to Heroku as well.
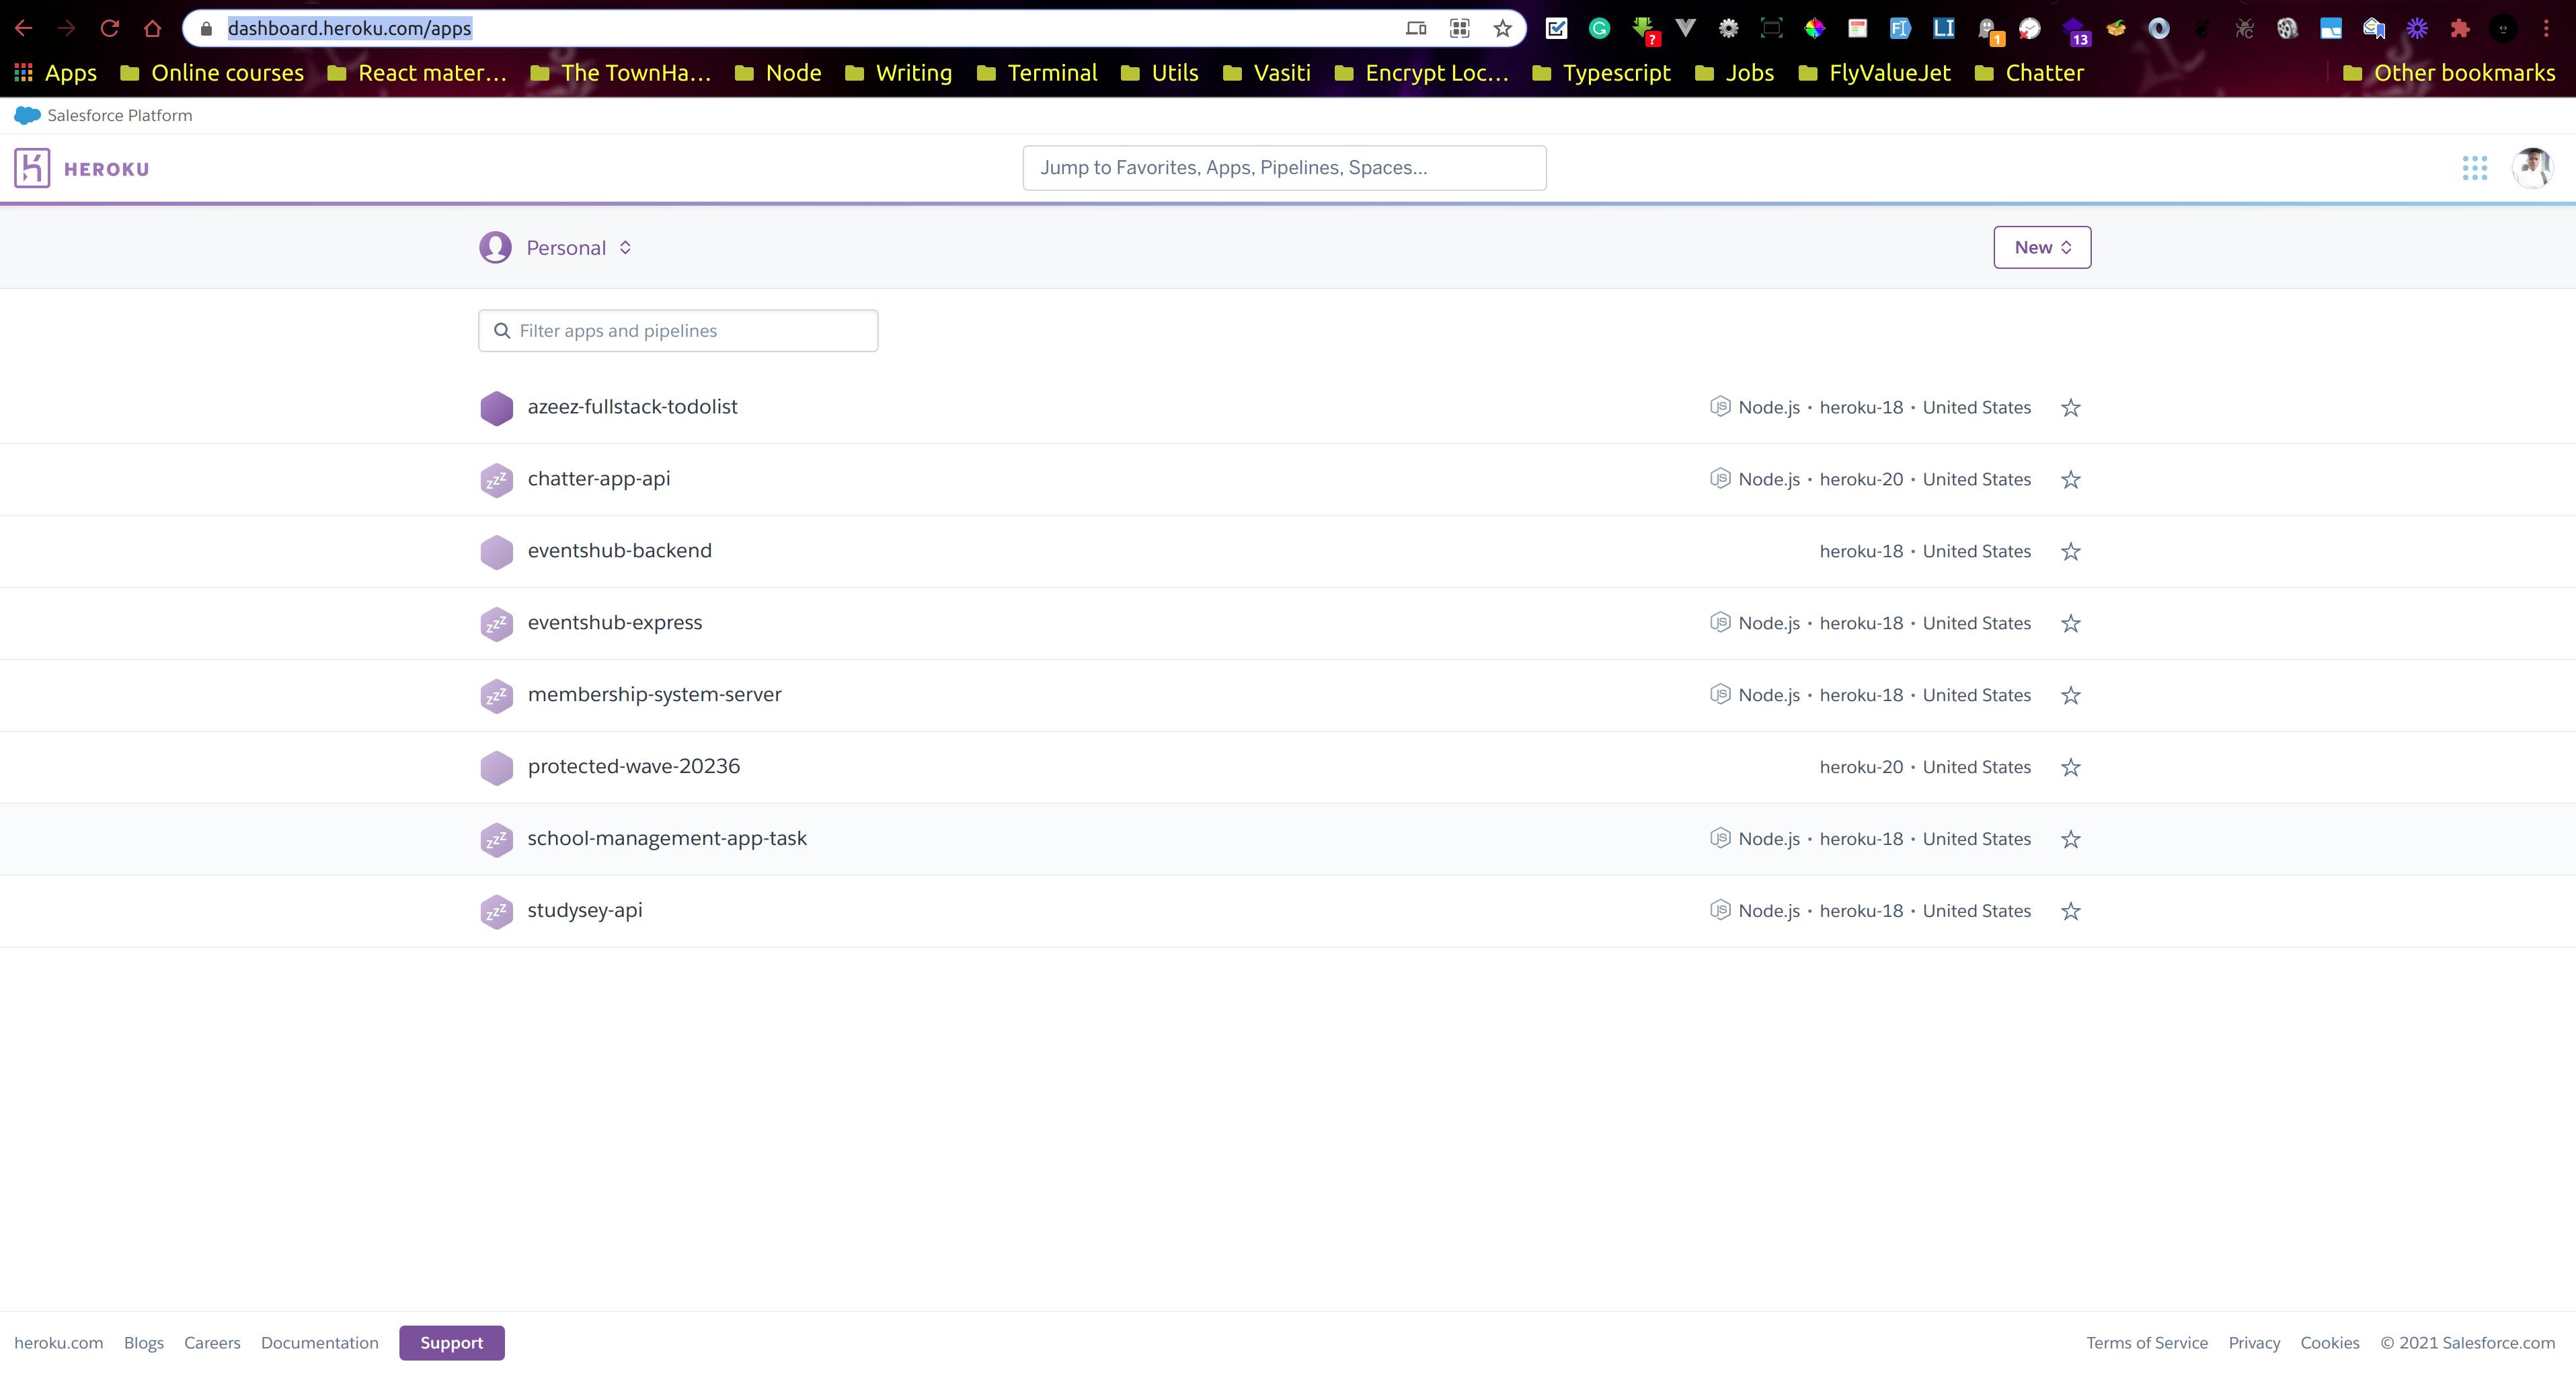
- Open your heroku dashboard to view all of your apps.
- Click the app you just created and click settings on the top navbar. On the page, click the Reveal Config Vars button and set your environment variables using the same key-value system stated earlier.
The limitation of this method of deploying a subdirectory in Heroku is that you'll need to run the git subtree push --prefix folder-name heroku master command every time you make changes to your app and need to push it to production.
On Netlify however, you don't need to trigger a deploy every time. The app auto-deploys every time you push to the connected repo. This feature can be disabled if you don't want it.
There you have it. You have both your React app and Node apps deployed and running live. The same process used for deploying the React app can be done for your Vue projects as well. The probable major change you might need is the build command and publish directory.
If there are other settings or configurations you want to add to your app, the Netlify and Heroku docs are awesome resources that can help you.