

Scaling your Node.js app with the Cluster module
Learn how to scale your Node.js app by running several instances of it on a single machine using the inbuilt Cluster module.


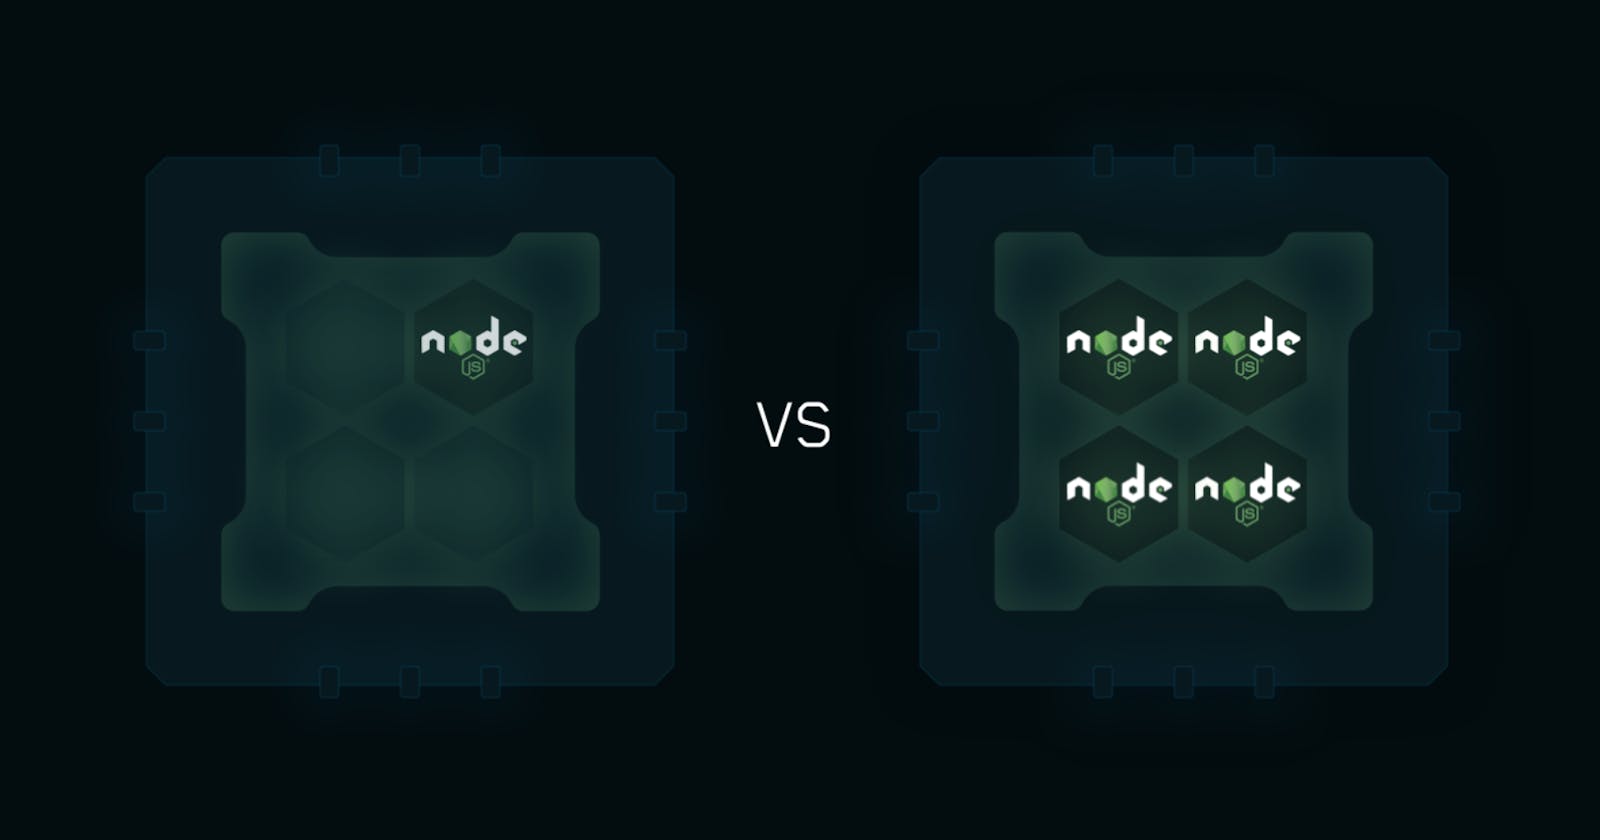
One of the main strengths of Node.js is its single-threaded nature. Unfortunately, it's also one of its major drawbacks. What this means is that an instance of a Node.js app runs on a single process of your machine. Considering the fact that these days, almost all computers have more than a single core, it means you are not effectively utilizing the resources at your disposal. Apart from the underutilization of resources, the number of incoming requests your server can handle concurrently is limited as well. And when your app is in production and serving multiple users at a time, it becomes a major problem.
There are other solutions to the problem but the one we'll be looking at here is using the inbuilt Cluster module in Node.js.
A cluster is a pool of similar child processes (also known as workers) running under a parent Node process. They are spawned using the fork() method of the child_processes module. The cluster module allows the easy creation of child processes that all run simultaneously and share the same server port. Each created child process has its own event loop, memory, and V8 instance. The workers use Inter-process communication (IPC) to communicate with the parent process.
The cluster module has its inbuilt load balancer so you don't have to worry about distributing each request. Per the official documentation, the cluster module supports two methods of distributing incoming connections.
The first one (and the default one on all platforms except Windows), is the round-robin approach. The primary process listens on a port, accepts new connections, and distributes them across the workers in a round-robin fashion, with some built-in smarts to avoid overloading a worker.
The second approach is where the primary process creates the listen socket and sends it to interested workers. The workers then accept incoming connections directly.
Because child processes are all separate processes, they can be killed or re-spawned depending on a program's needs, without affecting other child processes. As long as there are some child processes still alive, the server will continue to accept connections. However, If no workers are alive, existing connections will be dropped and new connections will be refused. Node.js does not automatically manage the number of workers. It is the application's responsibility to manage the worker pool based on its own needs.
Now that we've understood what the cluster module does and a little about how it does it, let's see a working example.
The first step is to import the cluster (and other) module into the app.
const cluster = require('cluster');
const http = require('http');
In order to know the number of worker processes to spawn in this case, we're going to get the number of CPUs in the machine.
const numCPUs = require('os').cpus().length;
Although you can technically spawn as many worker processes as you want, it should be used with caution. Each worker takes up system resources, so only spawn those that are really needed. The Node docs state that since each child process is a new V8 instance, you need to expect a 30ms startup time for each and at least 10MB of memory per instance.
The next step is to spawn the required workers and then create your server. Firstly, We check if the running process is the primary process. If that is true, we spawn new worker processes. The primary worker's only purpose here is to create all of the worker processes. It's the workers themselves that are responsible for running separate instances of the server.
Note that the primary process runs the whole time, and only workers are terminated and restarted. Therefore, it’s important to keep your primary process short and only in charge of managing workers.
Whenever a worker is terminated for any reason, the exit event is emitted. When that happens, we can spawn another worker to replace it using the cluster.fork() method.
if (cluster.isPrimary) {
  console.log(`Primary ${process.pid} is running`);

  // Spawn workers.
  for (let i = 0; i < numCPUs; i++) {
    cluster.fork();
  }

  // Spawn a new worker whenever one is terminated
  cluster.on('exit', (worker, code, signal) => {
    console.log(`worker ${worker.process.pid} died`);
    cluster.fork();
  });
} else {
  // Workers can share any TCP connection
  // In this case it is an HTTP server
  http.createServer((req, res) => {
    res.writeHead(200);
    res.end('hello world\n');
  }).listen(8000);

  console.log(`Worker ${process.pid} started`);
}
Using the Cluster module to create multiple worker processes to handle several instances of our app has 3 major advantages:
- There is little to no downtime when updating your app. When the changes made are being deployed, you can restart the workers one at a time and wait until it has fully spawn before restarting others. This means that there will always be at least one worker running to handle requests in your app.
- When you have a long-running operation on one of the workers, others can handle the incoming requests without having to wait for the first one to finish running.
- It helps to increase the number of incoming requests your server can handle. This is because the requests will be handled by multiple workers.
The Cluster module shines best when you are running CPU-intensive tasks in your app. However, if that's not the case, it might not be worth it to spawn up so many worker processes. In your real-world app, it is advisable to run tests to make sure that the benefits of the module are worth the extra complexity it brings to your app.
Also, there's a tool that can be used to manage the entire clustering process called the PM2 process manager. It has an inbuilt load-balancer and will help you automatically run your app in cluster mode. It will handle all of the spawning and re-spawning of new workers. Also, it has monitoring tools to help with monitoring and tweaking your app's performance.
You can learn more about PM2 in the official documentation. The cluster module also has excellent documentation if you want to learn more about how to use and configure it in your app.